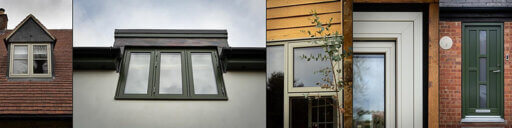
How to Measure Windows and Doors for a Quick Ballpark Quote
If you’re looking for a quick price estimate for our products, we can use your measurements to provide an approximate cost. Please note, these preliminary measurements are only for budgeting purposes and will not be used for production. We always offer to conduct a proper survey and precisely measure when supplying and fitting.
Still interested in getting a rough idea of costs to help you budget and decide if our products are worth a closer look? You can measure yourself! The article below explains how to do it.
We have a few products which we can quote in-house, and this type of quote will take us a few days to process. Most products we offer are priced up accurately by our factories, and this can sometimes take a week to be returned to you. This way, we know we’re providing everyone with a completely fair price from the very start.
Starting Off: It’s Your Choice!
If you’re local to us, we’re very happy for you to book us in for a visit: we’ll measure the units you’d like to replace, note down any potential adjustments or equipment needed, and (with your permission!) take a few photos so that our office staff and installers have a good understanding of the project.
The real work then begins! All this information is organised by our estimators and comes back to you in the form of an accurate quotation.
If you’re further afield, or are simply happy providing your own initial dimensions with a tape measure, we actively encourage this because it’s by far the most efficient way of getting this information into our estimating team. Also, booking in our visit after we have an initial quotation on paper to discuss is far more useful for our customers and ourselves.
In most cases: widths, heights, style and some photos will give us all the information we need for an initial accurately-priced quotation. When we’re offering a supply-and-fit service, one of our experienced installers always visits to measure accurately before any orders are placed.
Measuring Your Own Windows
There’s no need to be super careful and spend lots of time on this: we wouldn’t base an order from dimensions that we know have only been obtained for initial quoting purposes (regardless of whether a home owner, builder, architect or member of our staff had obtained them).
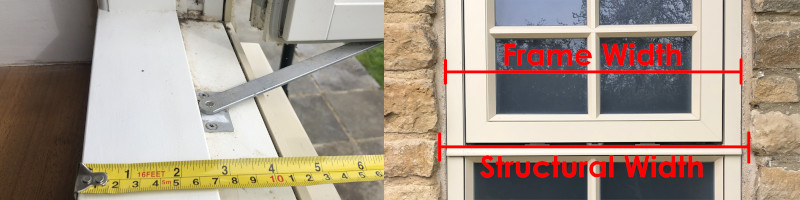
By the way, when we say “brick to brick” or “plaster-to-plaster”, that doesn’t mean you can’t use these techniques for homes constructed with other methods. It’s just a generic term to describe measuring a structural opening, rather than a frame size.
If possible, measuring from outside is best. If you can easily and safely stand outside the window or door, great!

If it’s not easy or safe for you to measure from the outside, no problem! Or, to be honest, if it’s raining outside and you’d prefer to stay indoors, measuring from inside will be fine:
Frame Depth
This is likely to be less obvious, but windows come in a variety of frame depths: the distance from the outside face of the window frame, to the inside face of the window frame has huge variation comparing new and old products. As an extreme example, if we want to install a 210mm deep frame (one of the largest we can) where the previous window was around 50mm deep steel frame, this will either require some serious adjustment work, or be impossible. But fear not! We have plenty of options for all the frame depths we might encounter.

Our “normal” windows we’d want to offer are 115mm deep, and we’d expect an old timber or plastic frame to be around 70mm – this is a comfortable conversion. If you think you have a more extreme situation, best to let us know early-on because it will likely affect which products are available to you.
Window Design:
When sending us requests, it can be as simple as taking a photo of each side of your home. This is perfect for when you’d simply like to copy the existing design and layout: we’ll copy the windows in that photo!
On the other hand, there are many reasons to change designs. A lot of older windows can have designs simplified to save money, to give you more glass area (so more natural light) or to give you more opening windows for better airflow.
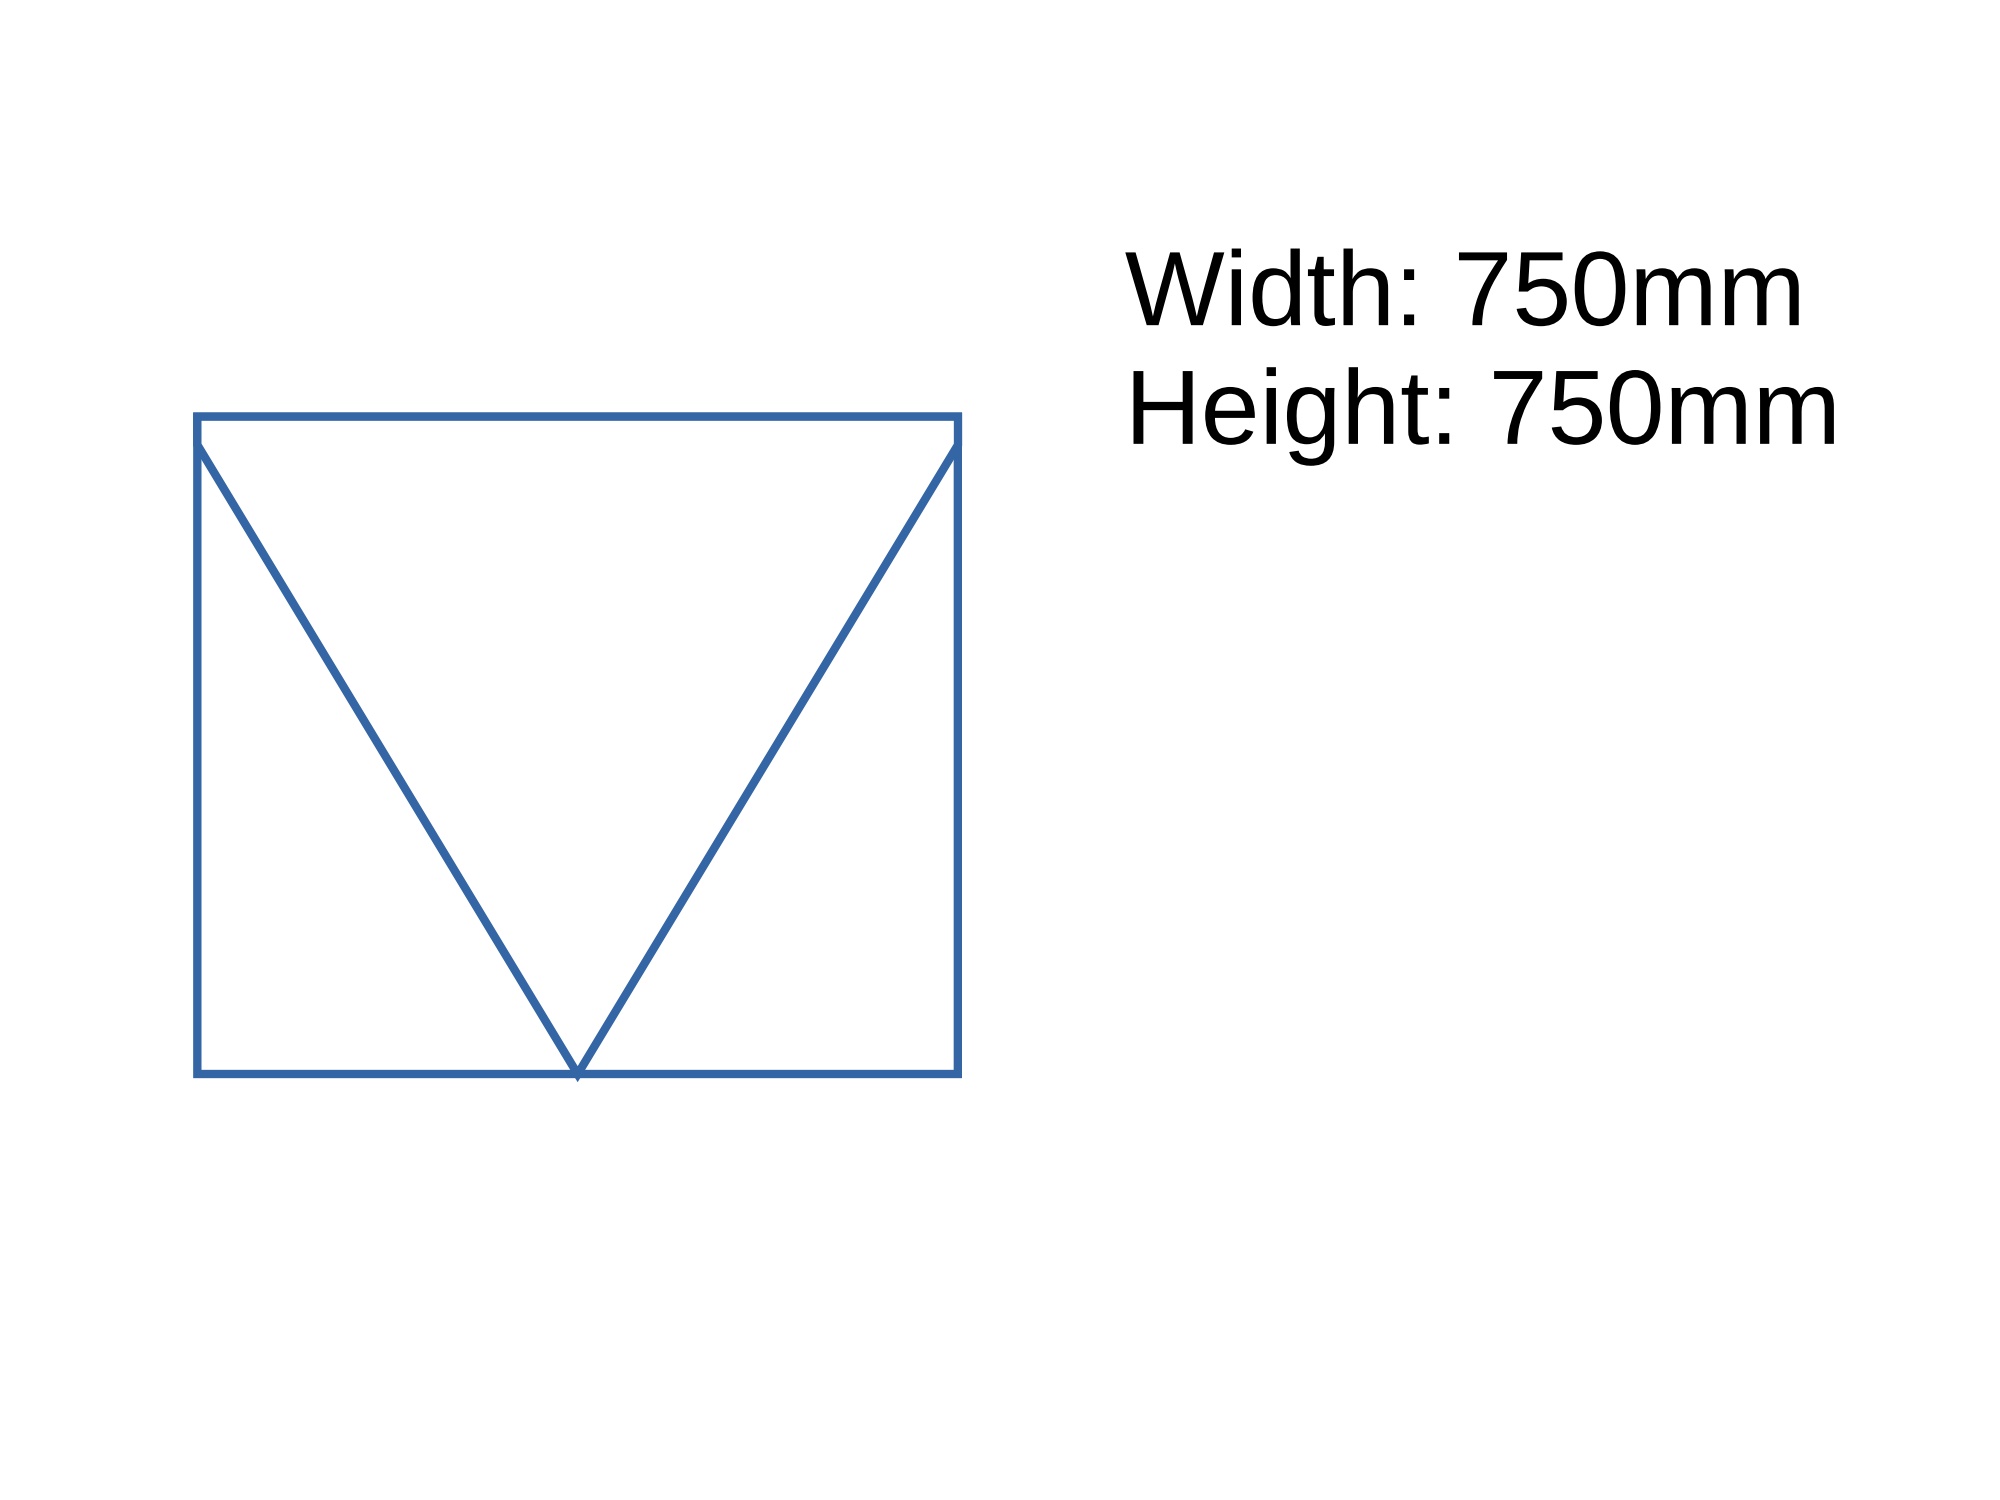
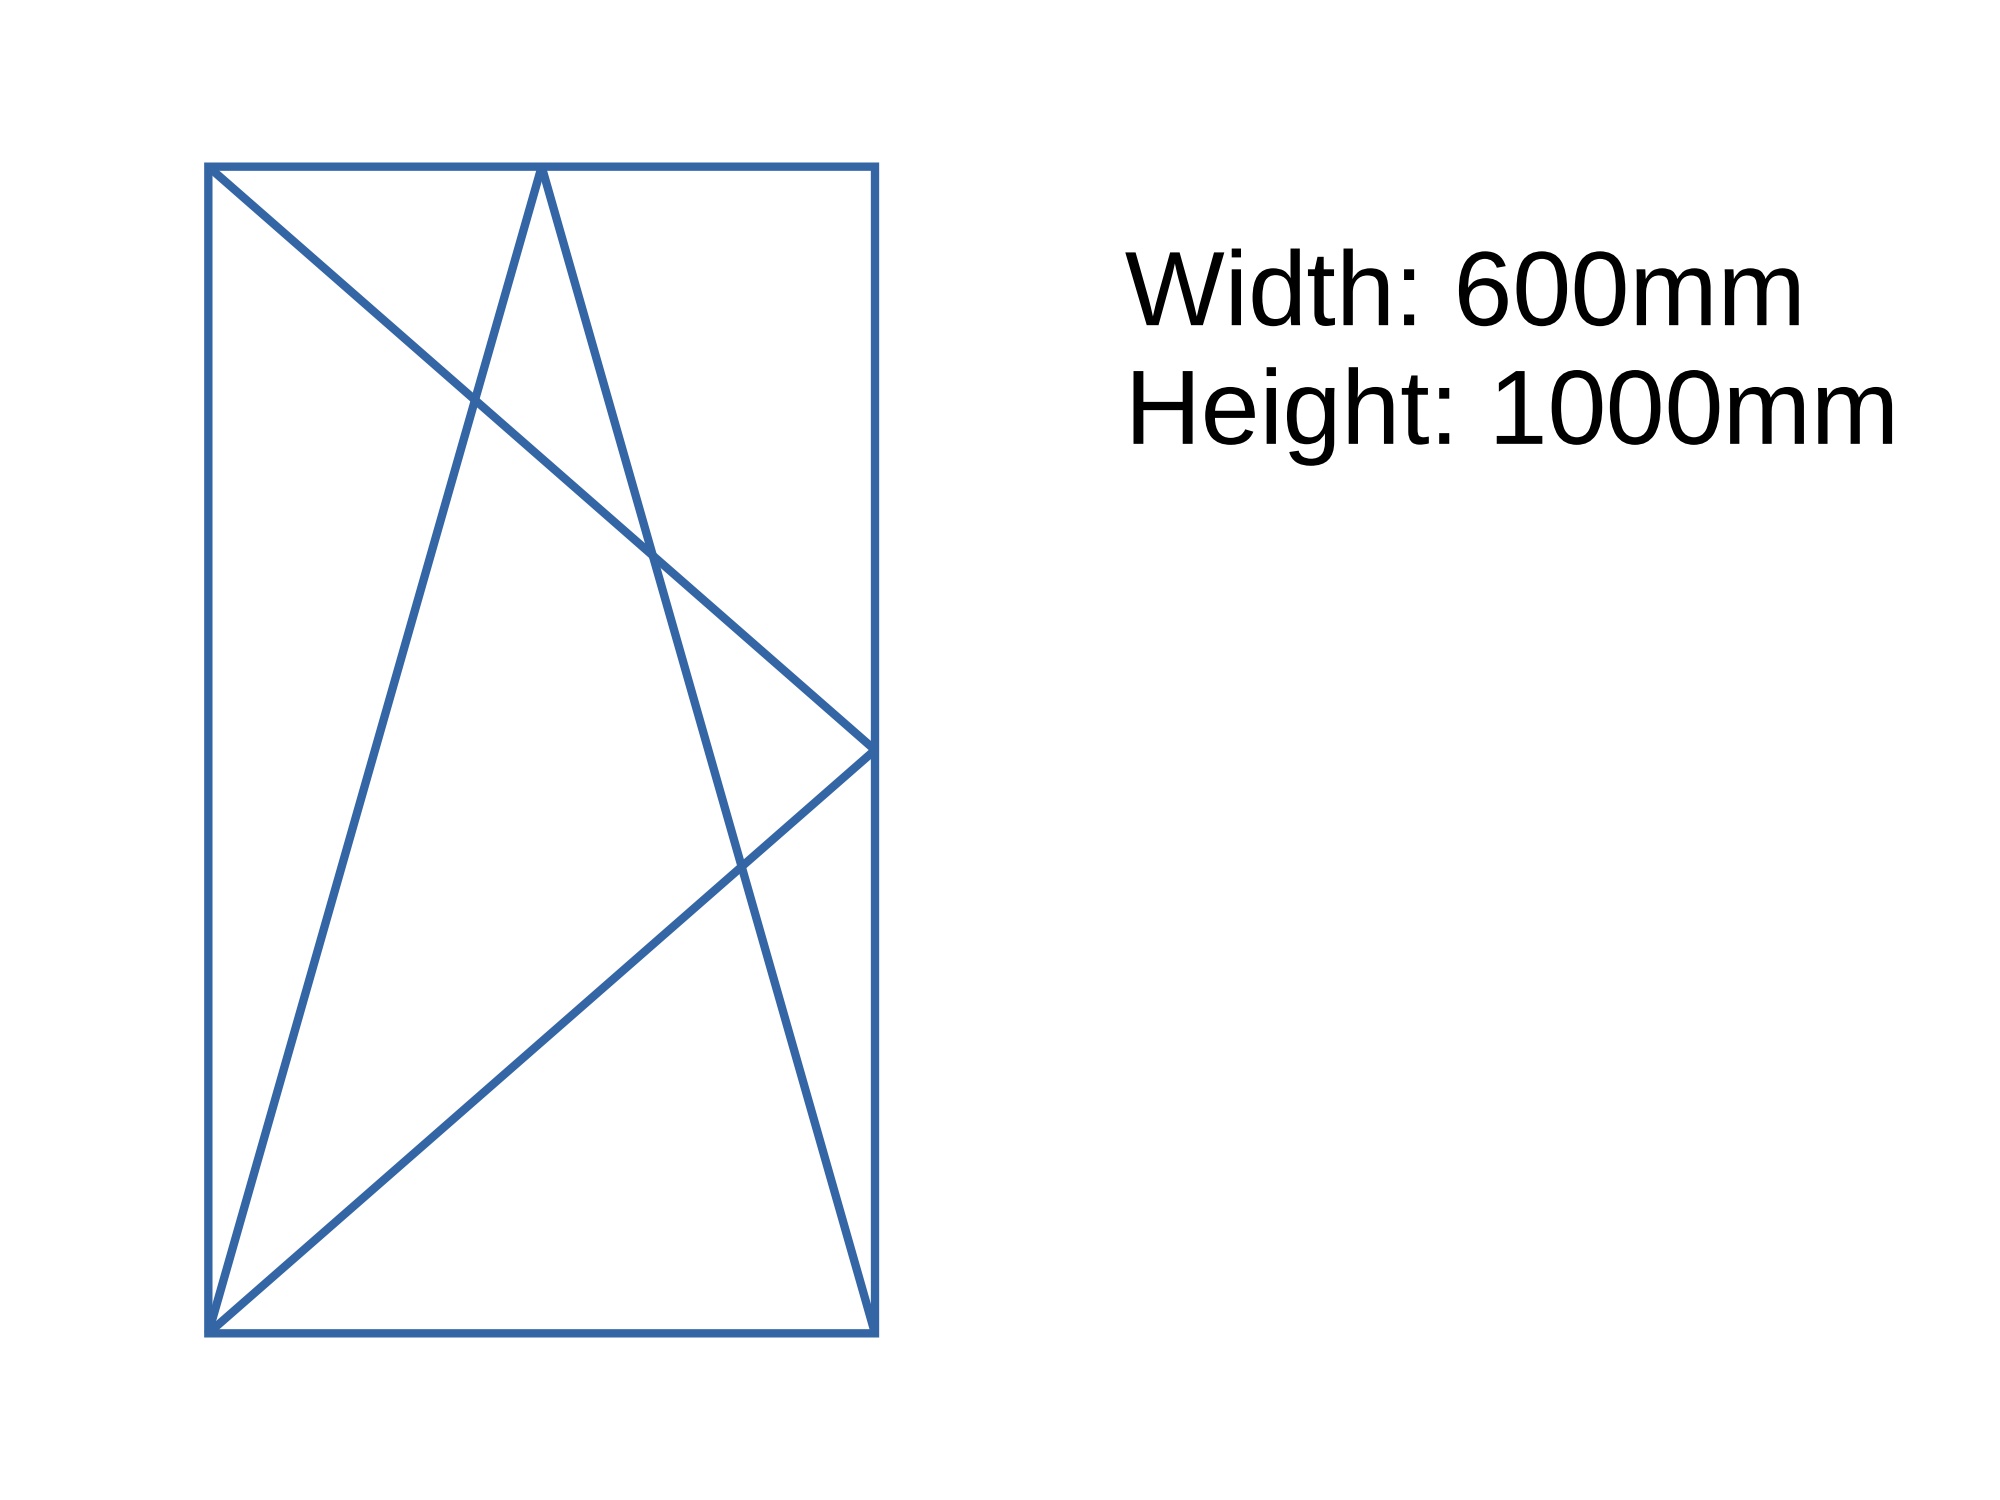
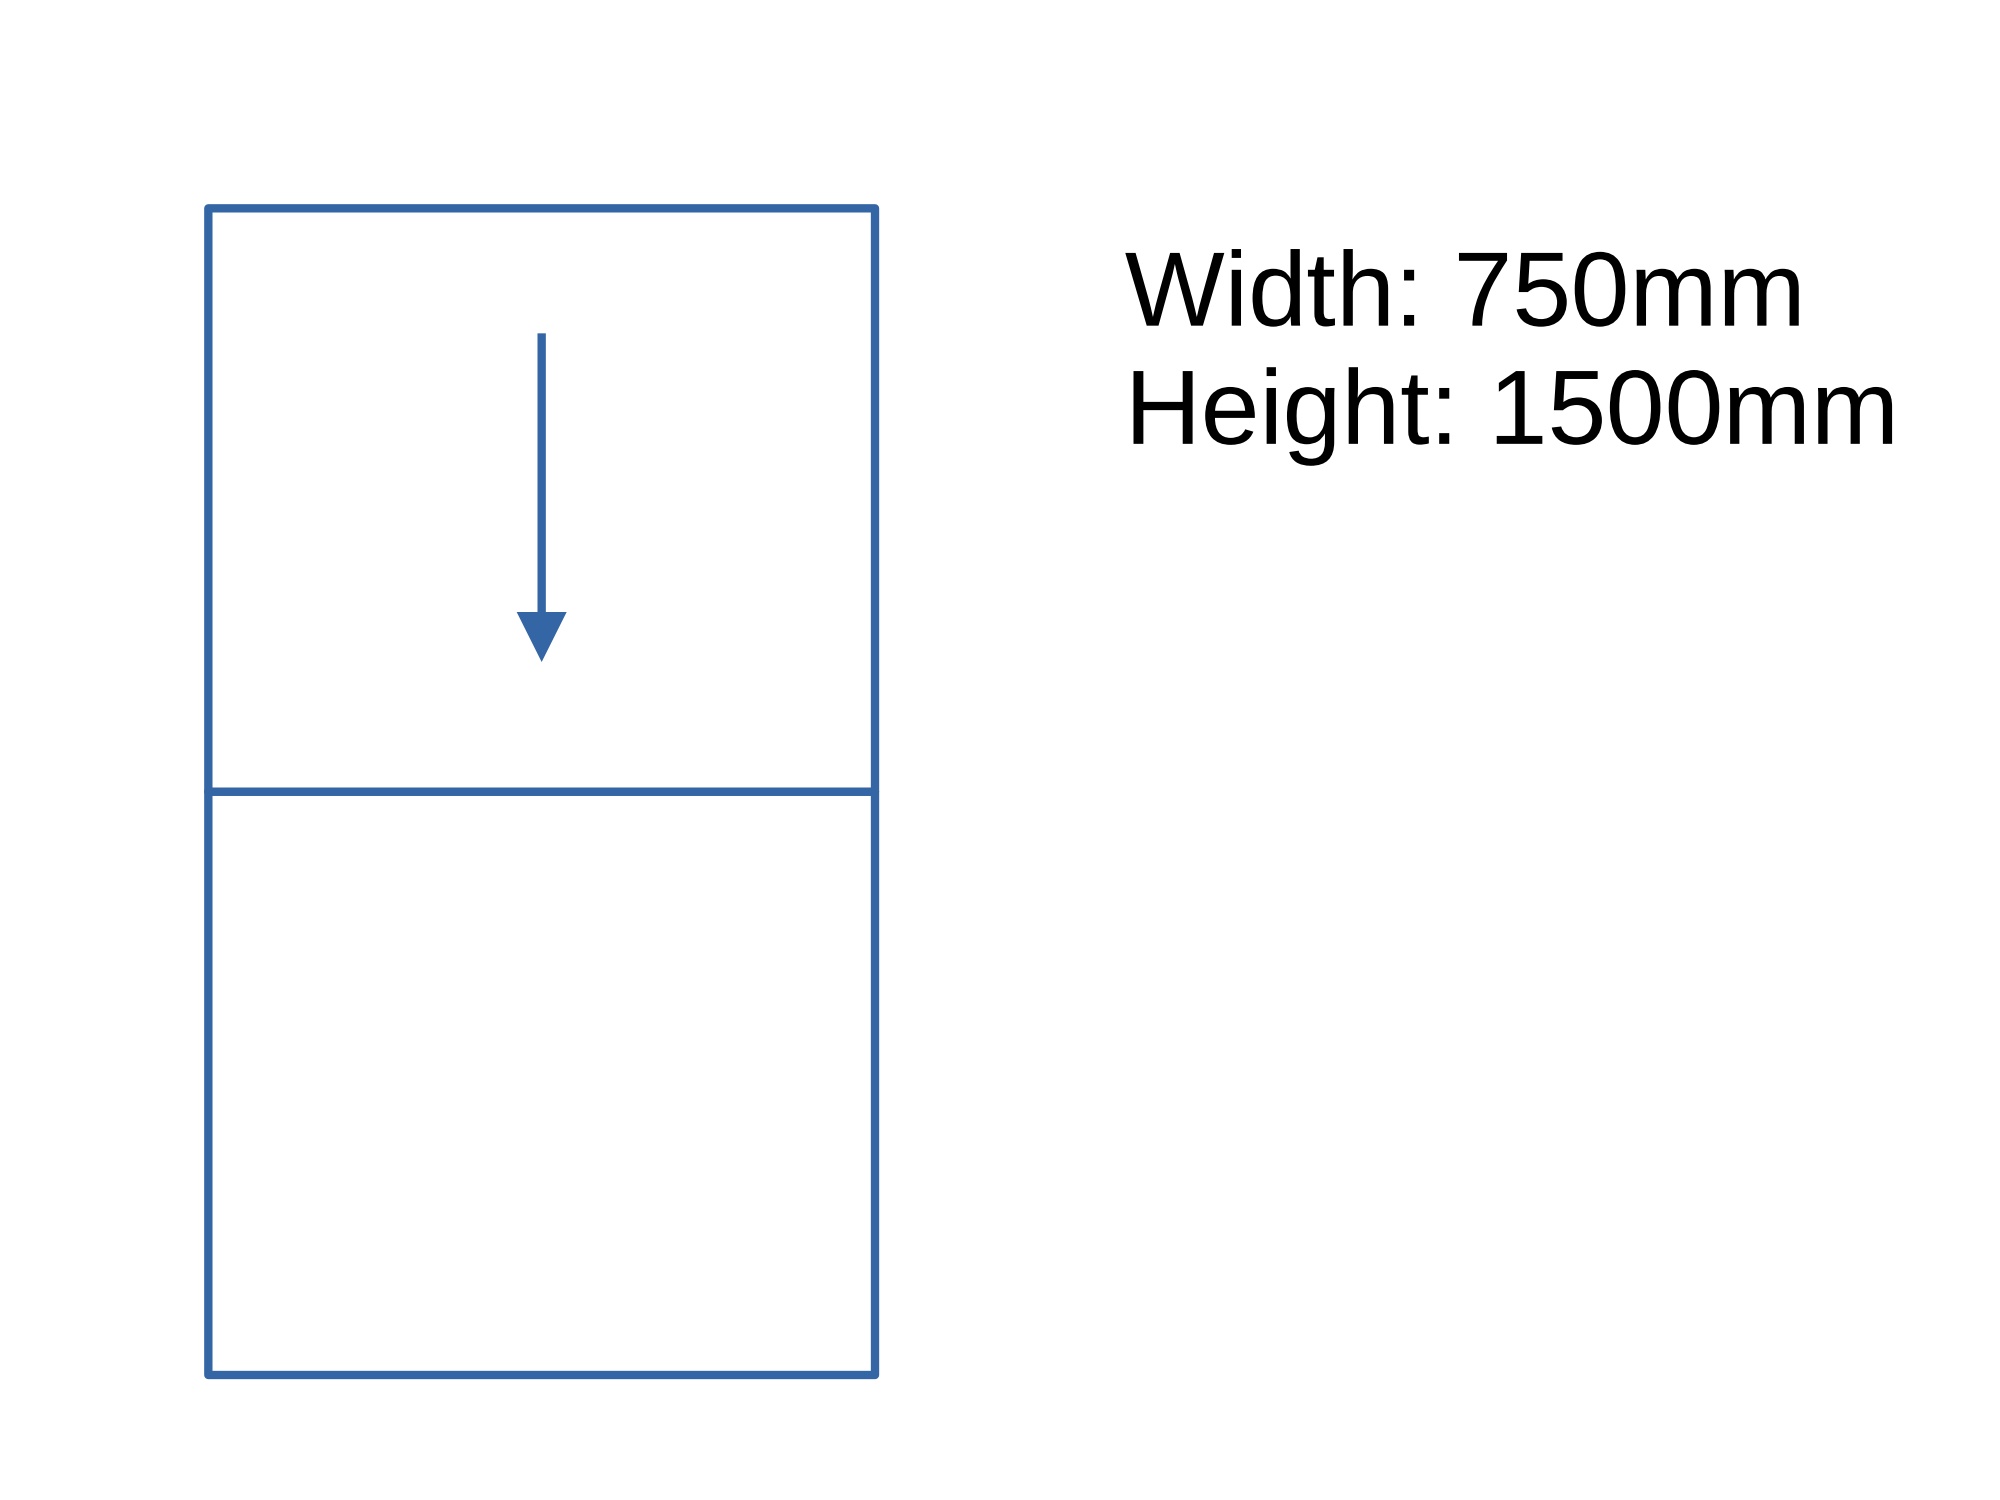
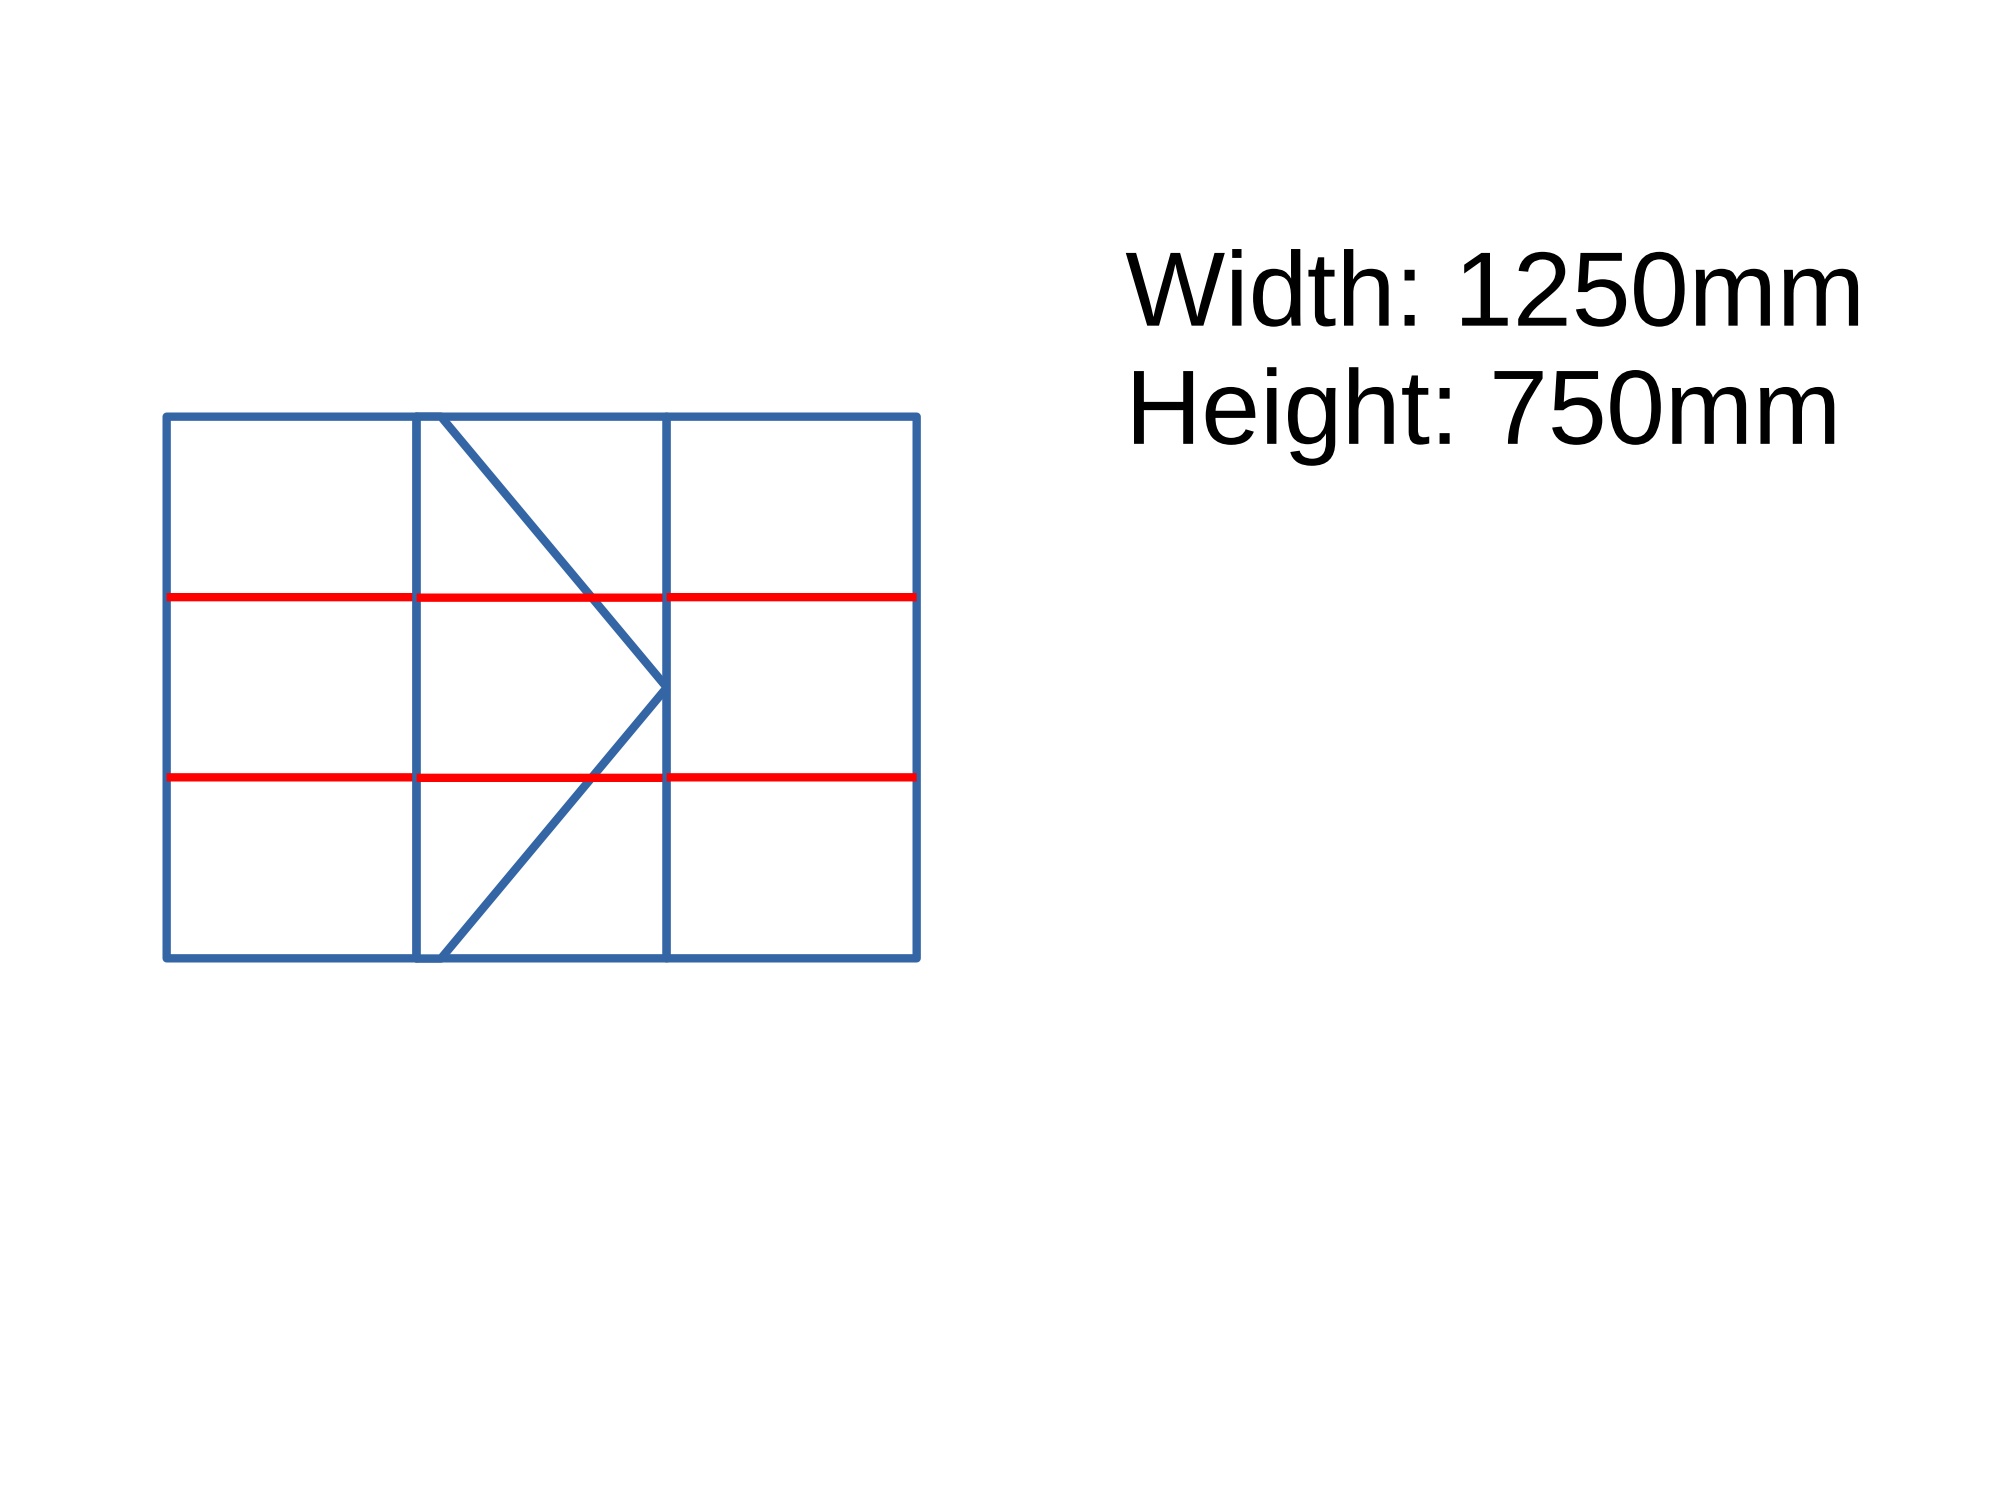
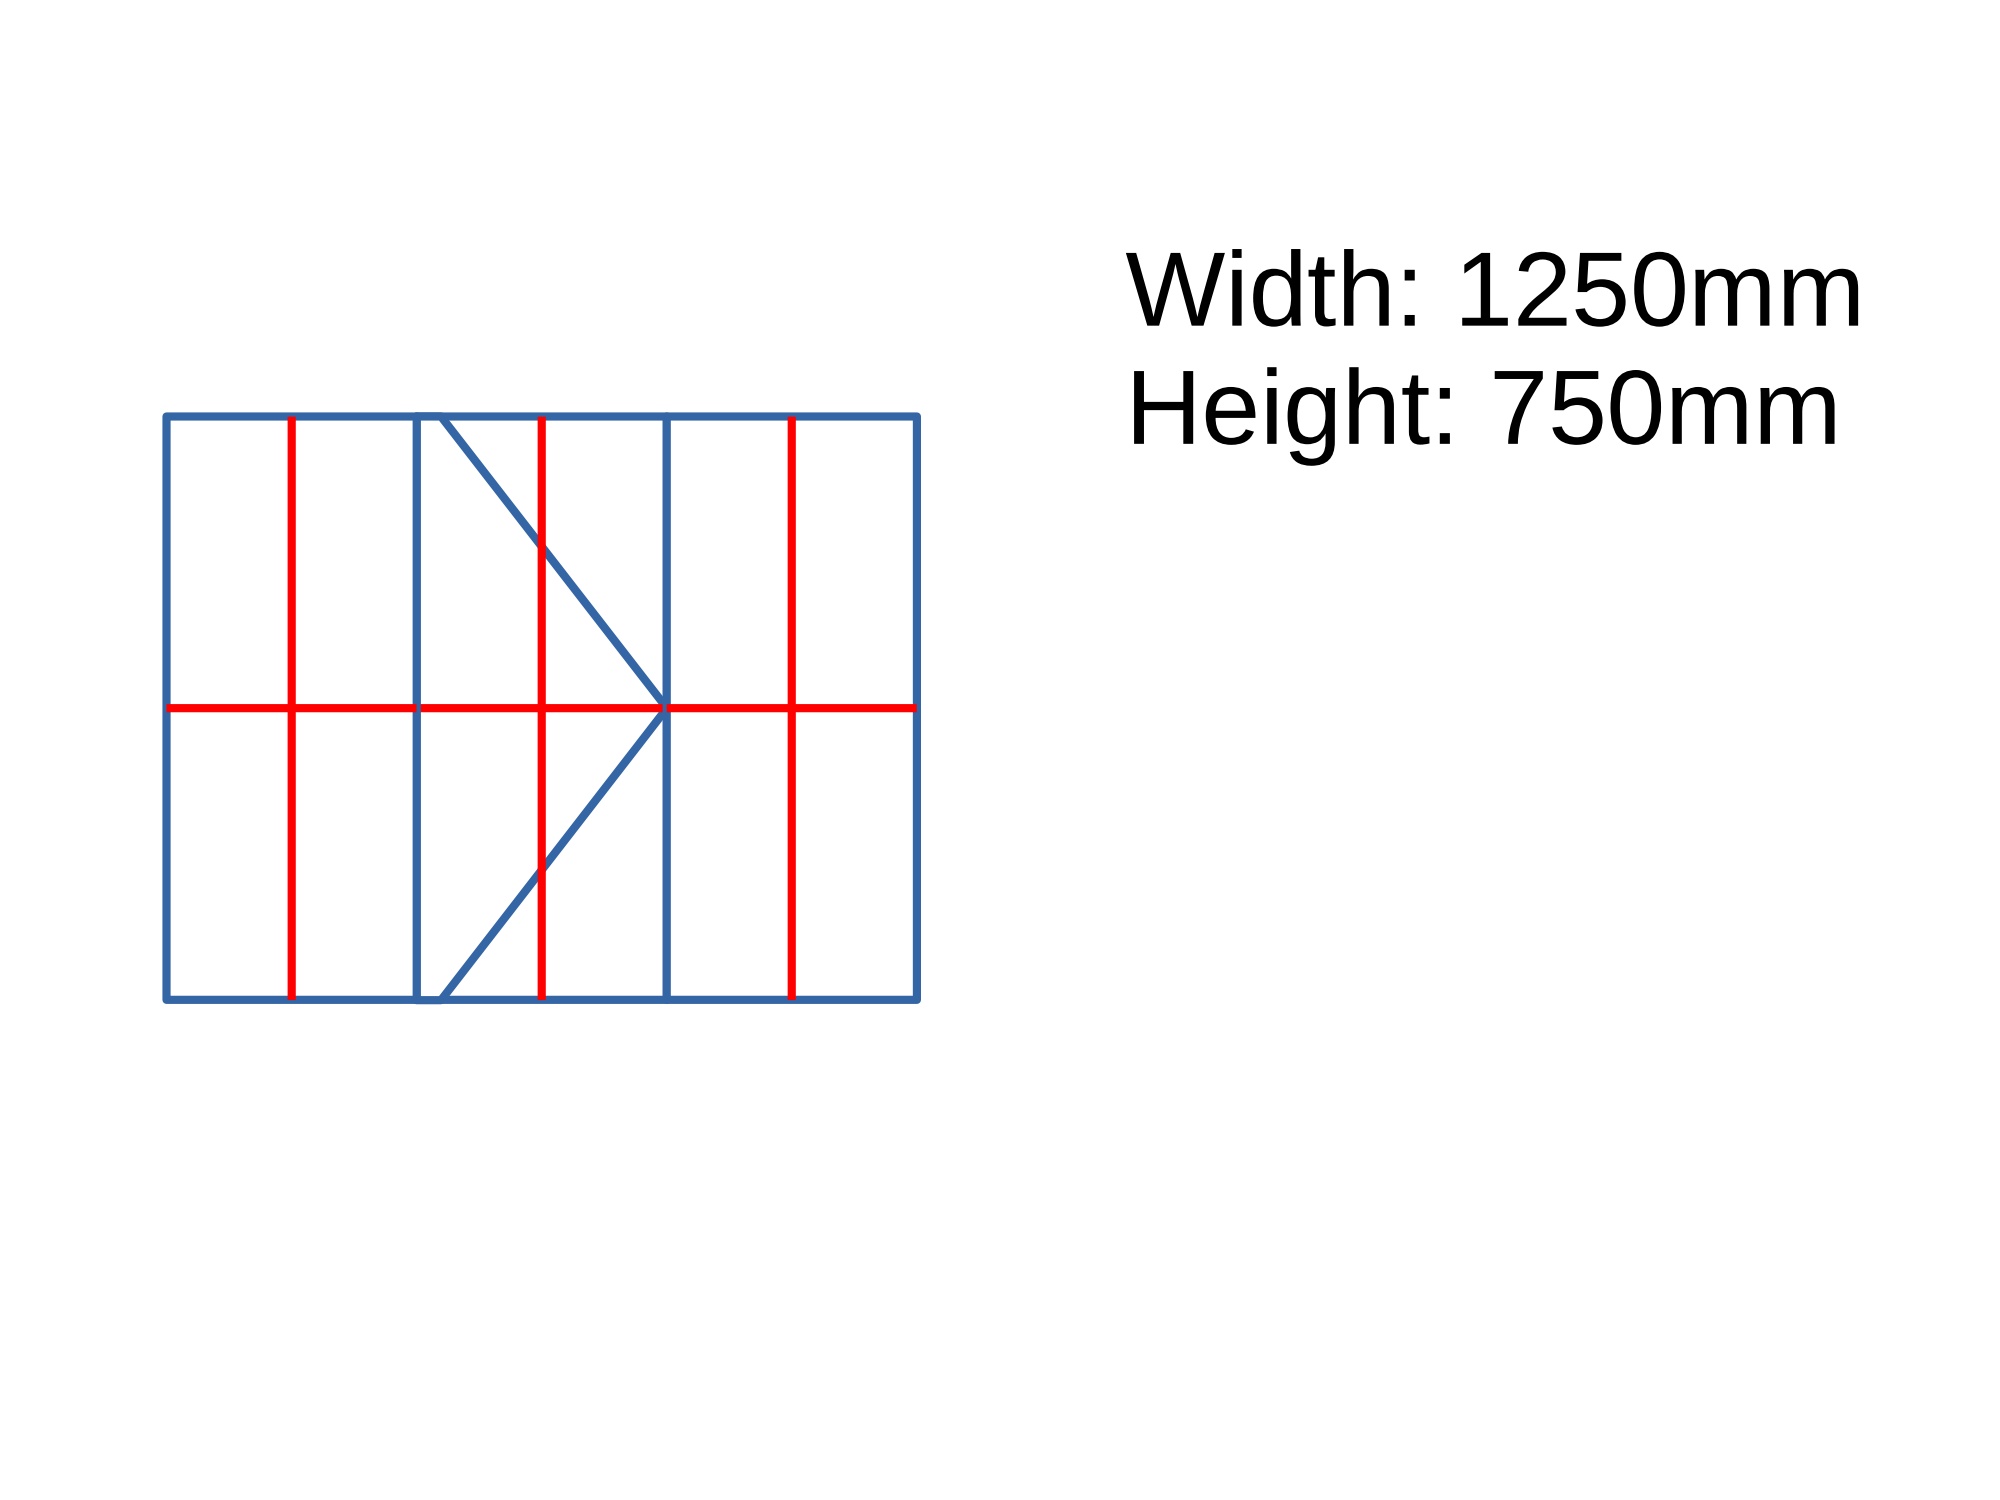
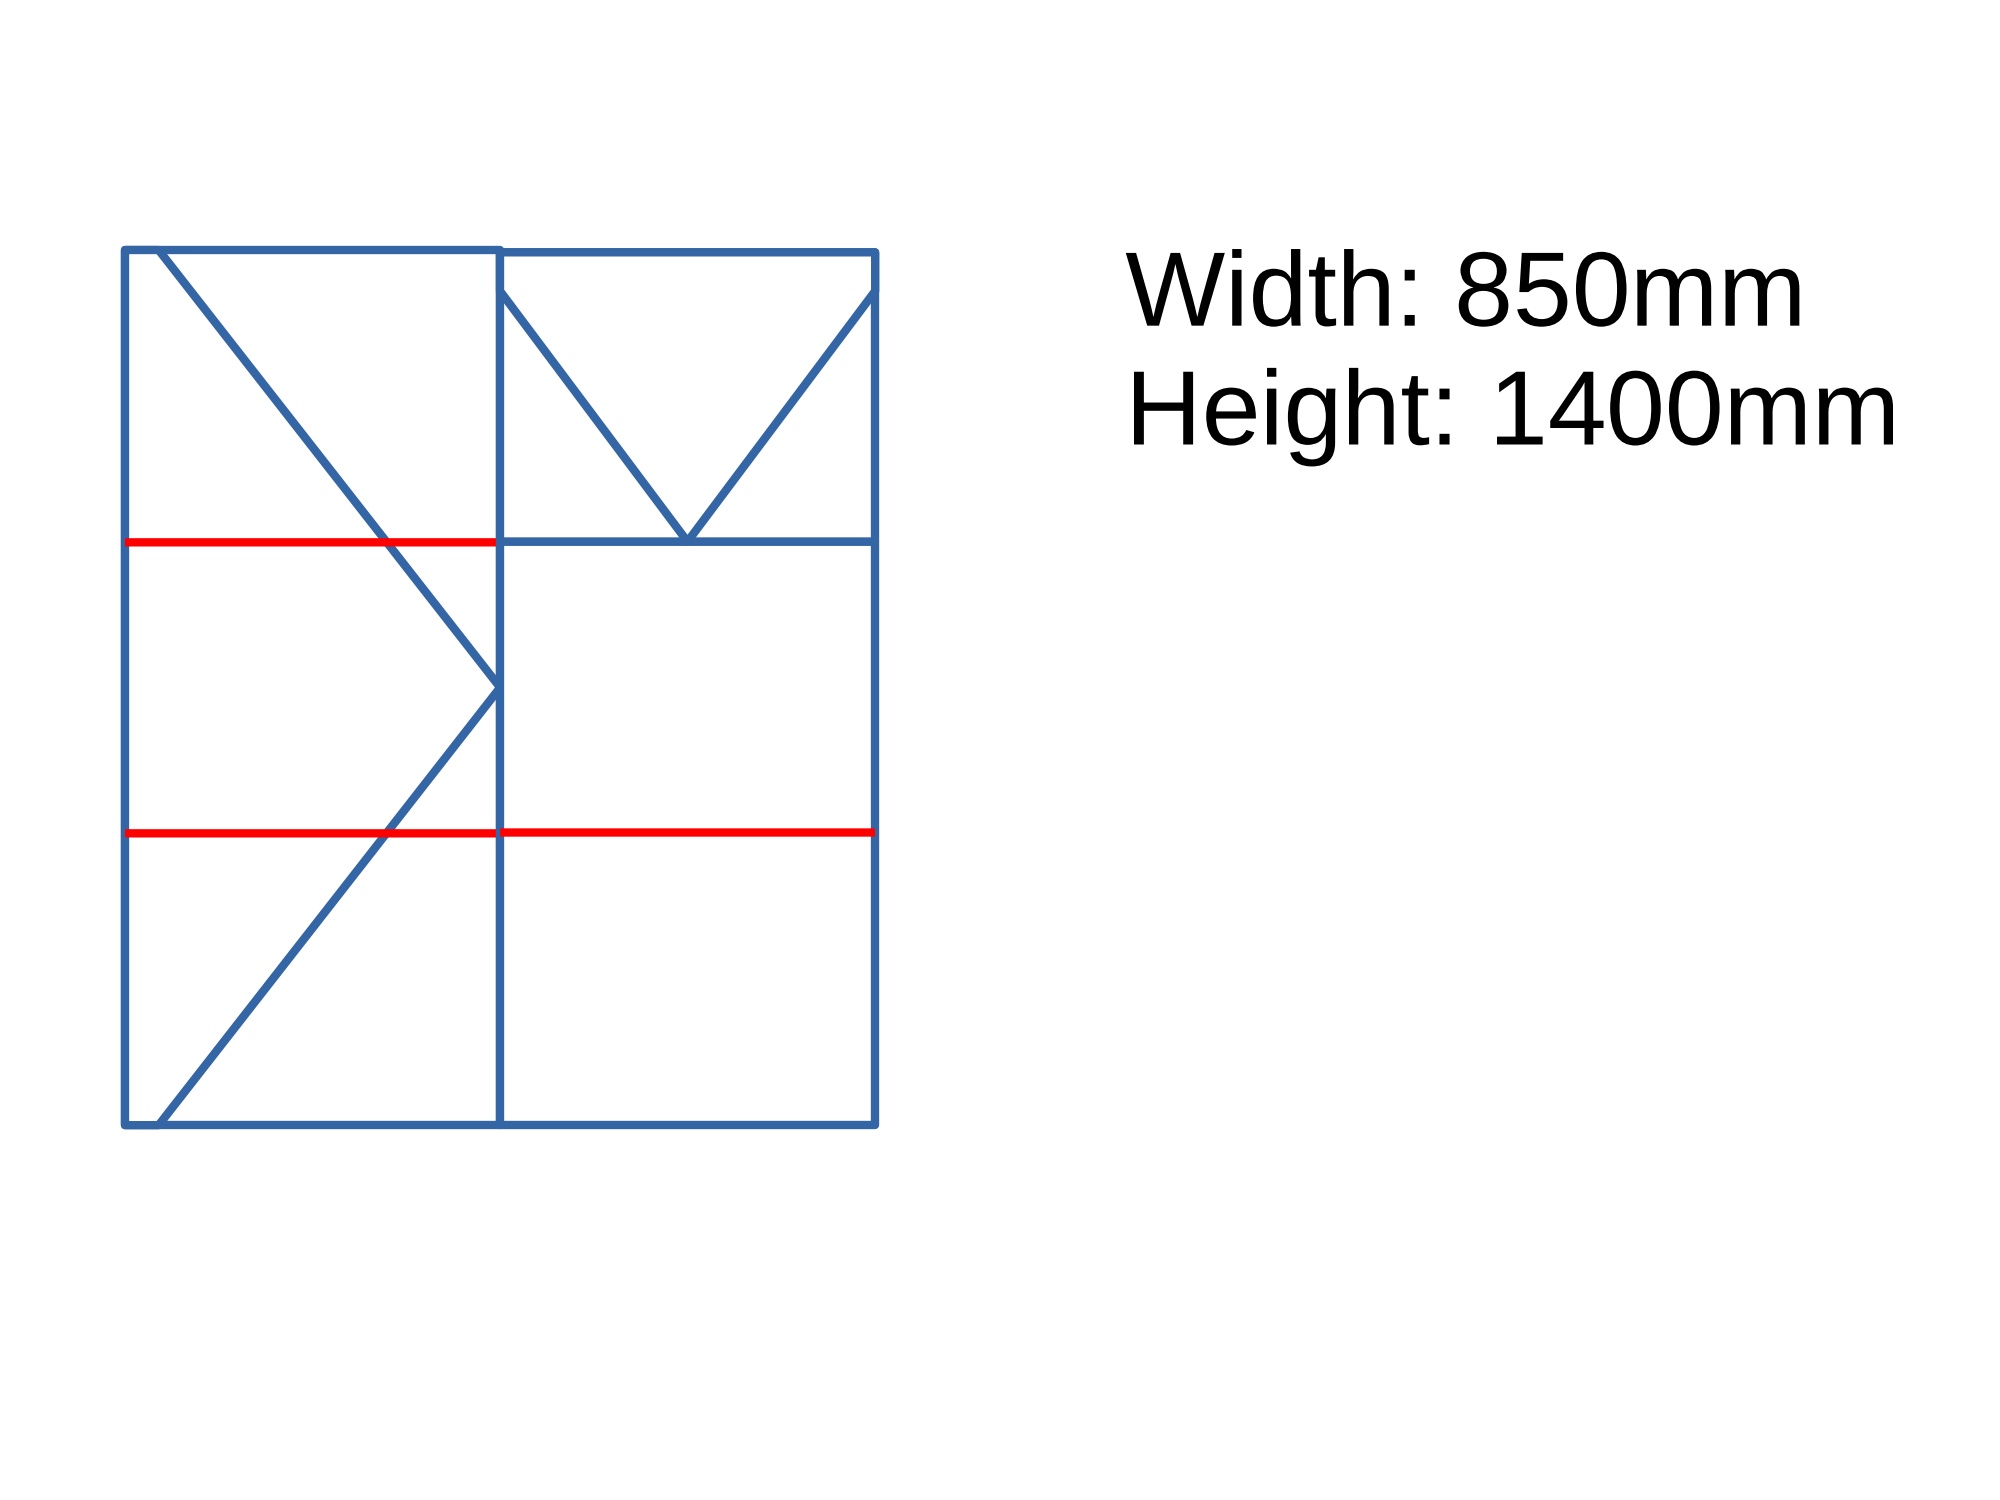
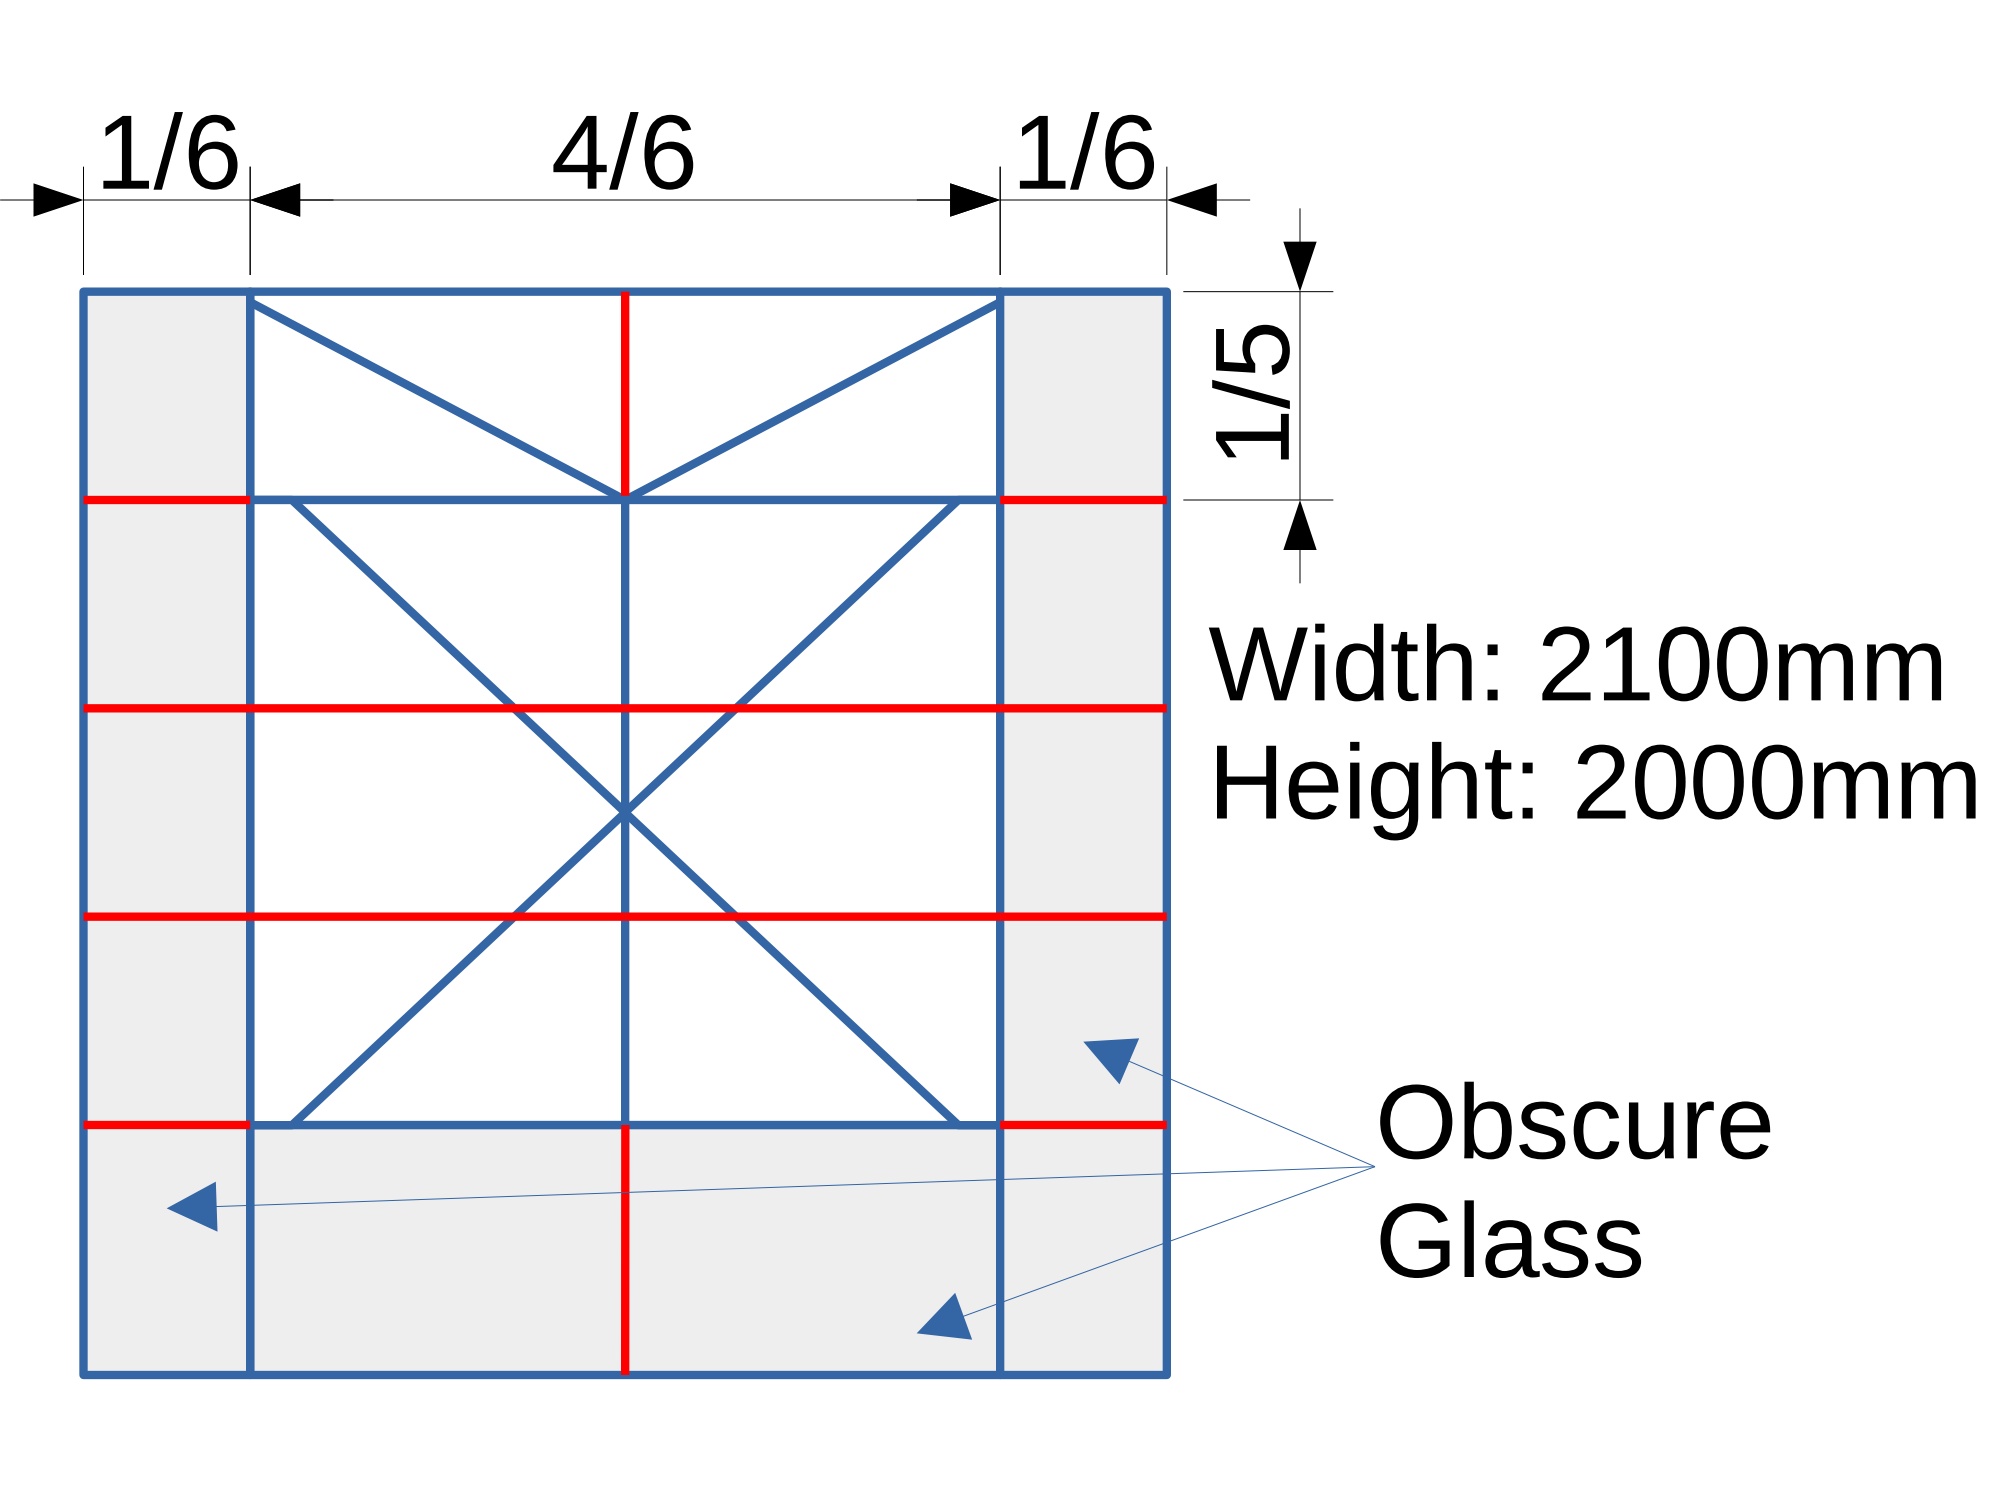
Sending us diagrams of your style ideas is by far the best way to describe any changes. Below, we’ve shown basic line drawings for very different windows and a door. These diagrams don’t need to be to-scale, and are a great way to give us complicated information in a simple way.
Mostly, we use the mostly Europe-wide convention for describing a window. This means we draw diagrams viewed from outside, with an arrow/triangle pointing towards the handle. You may find other companies use a different conventions. Sadly, there’s not a standardised way of drawing windows.
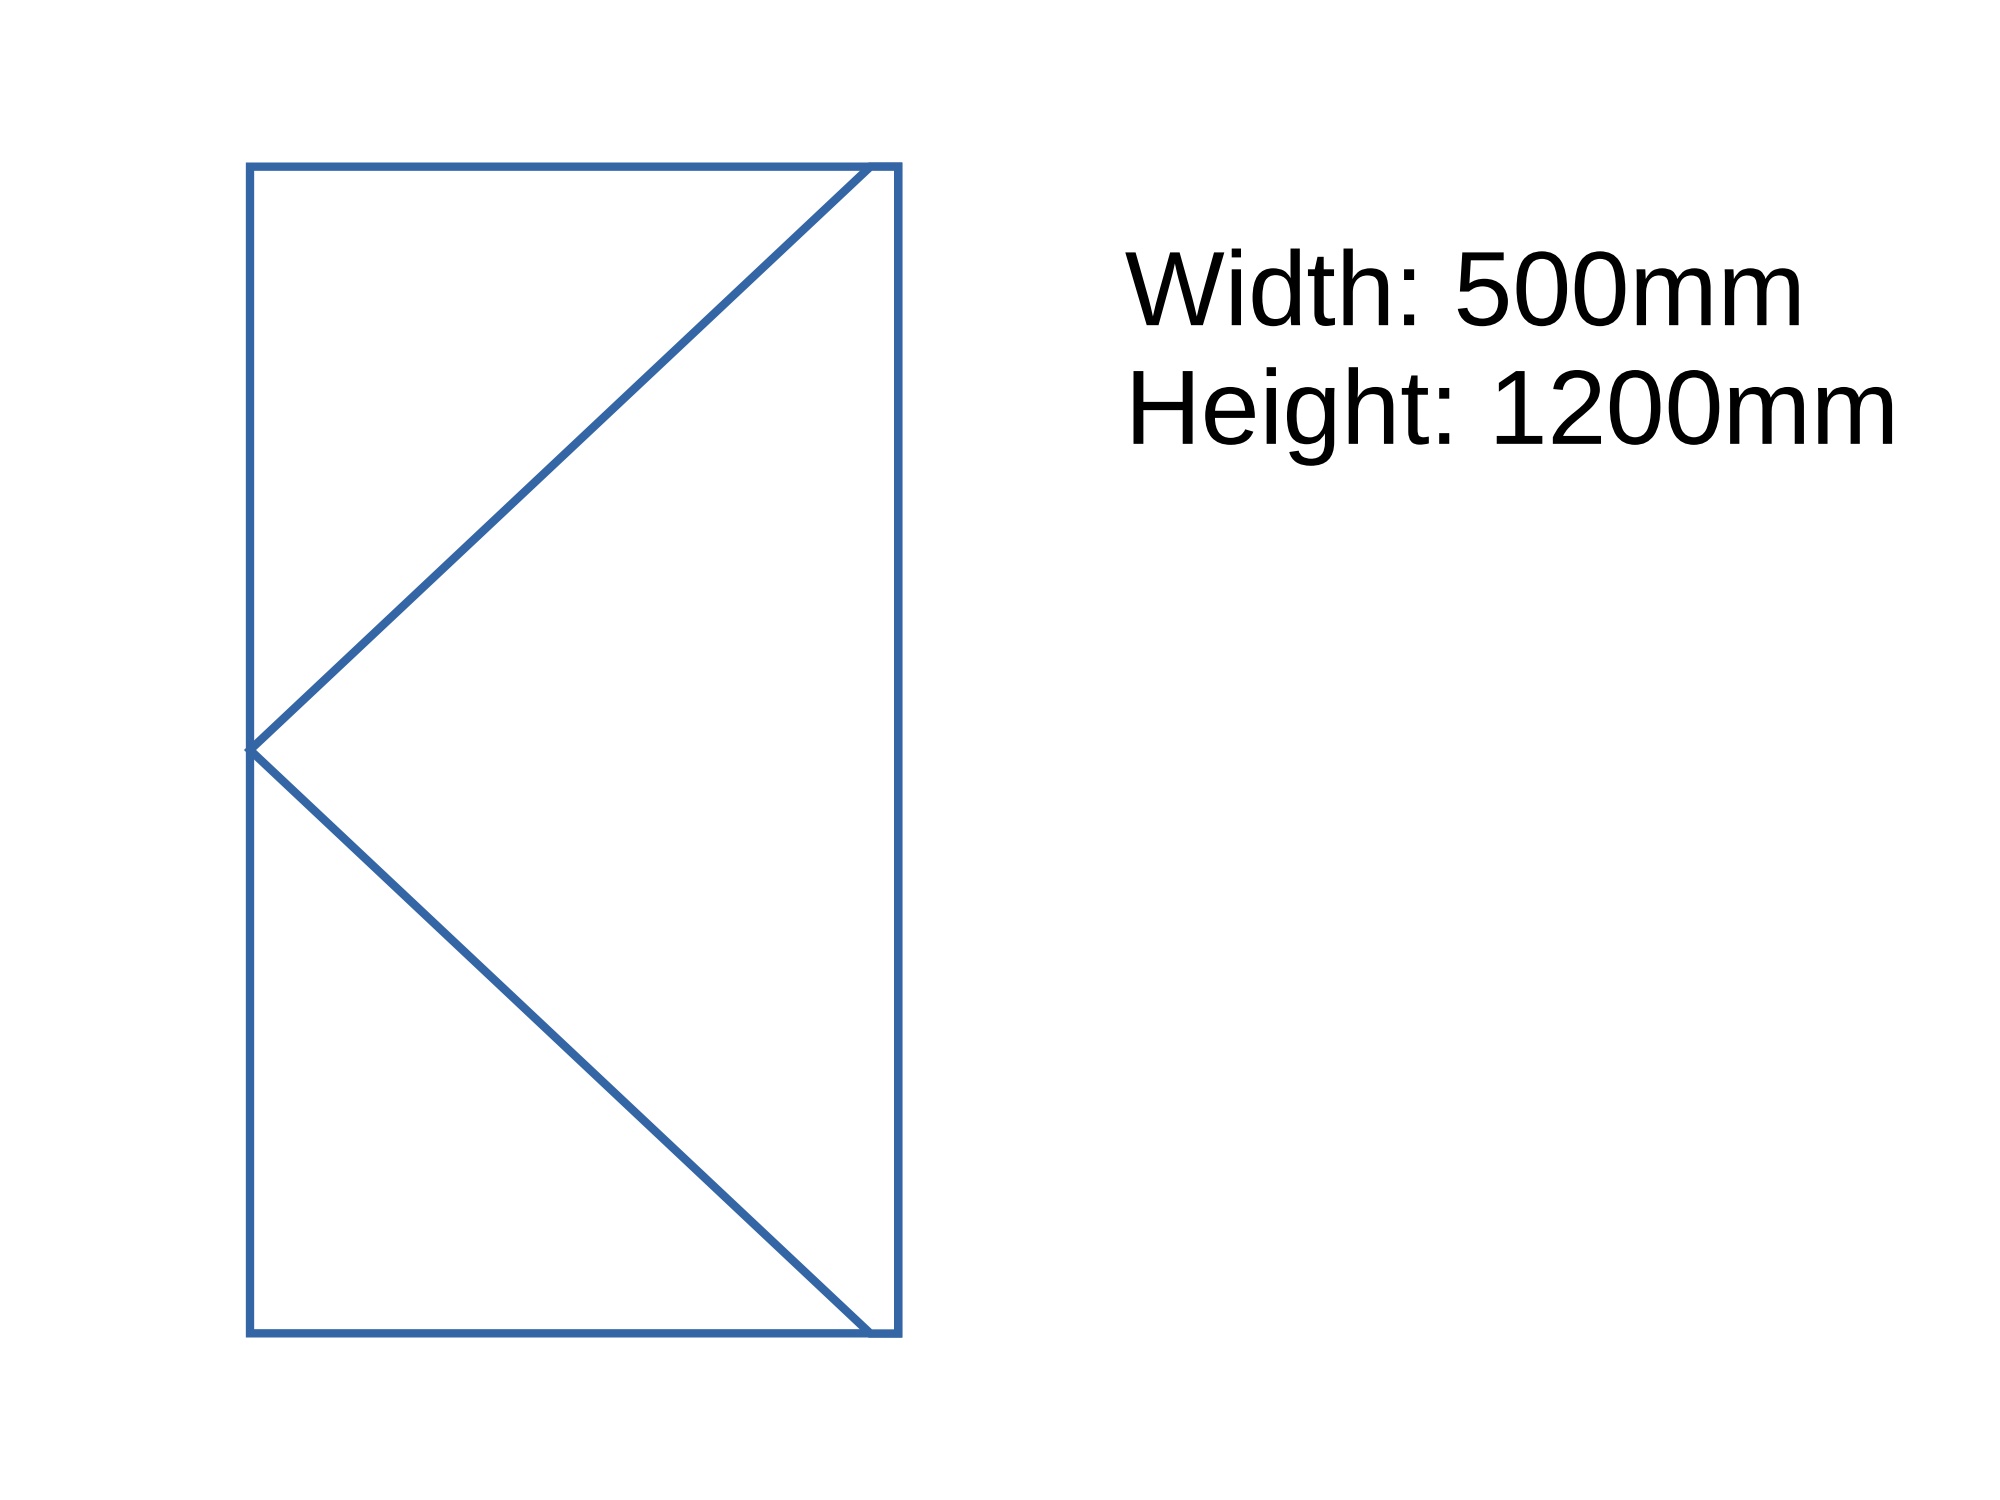
A side hung window, visible external hinges, handle on the left viewed from outside
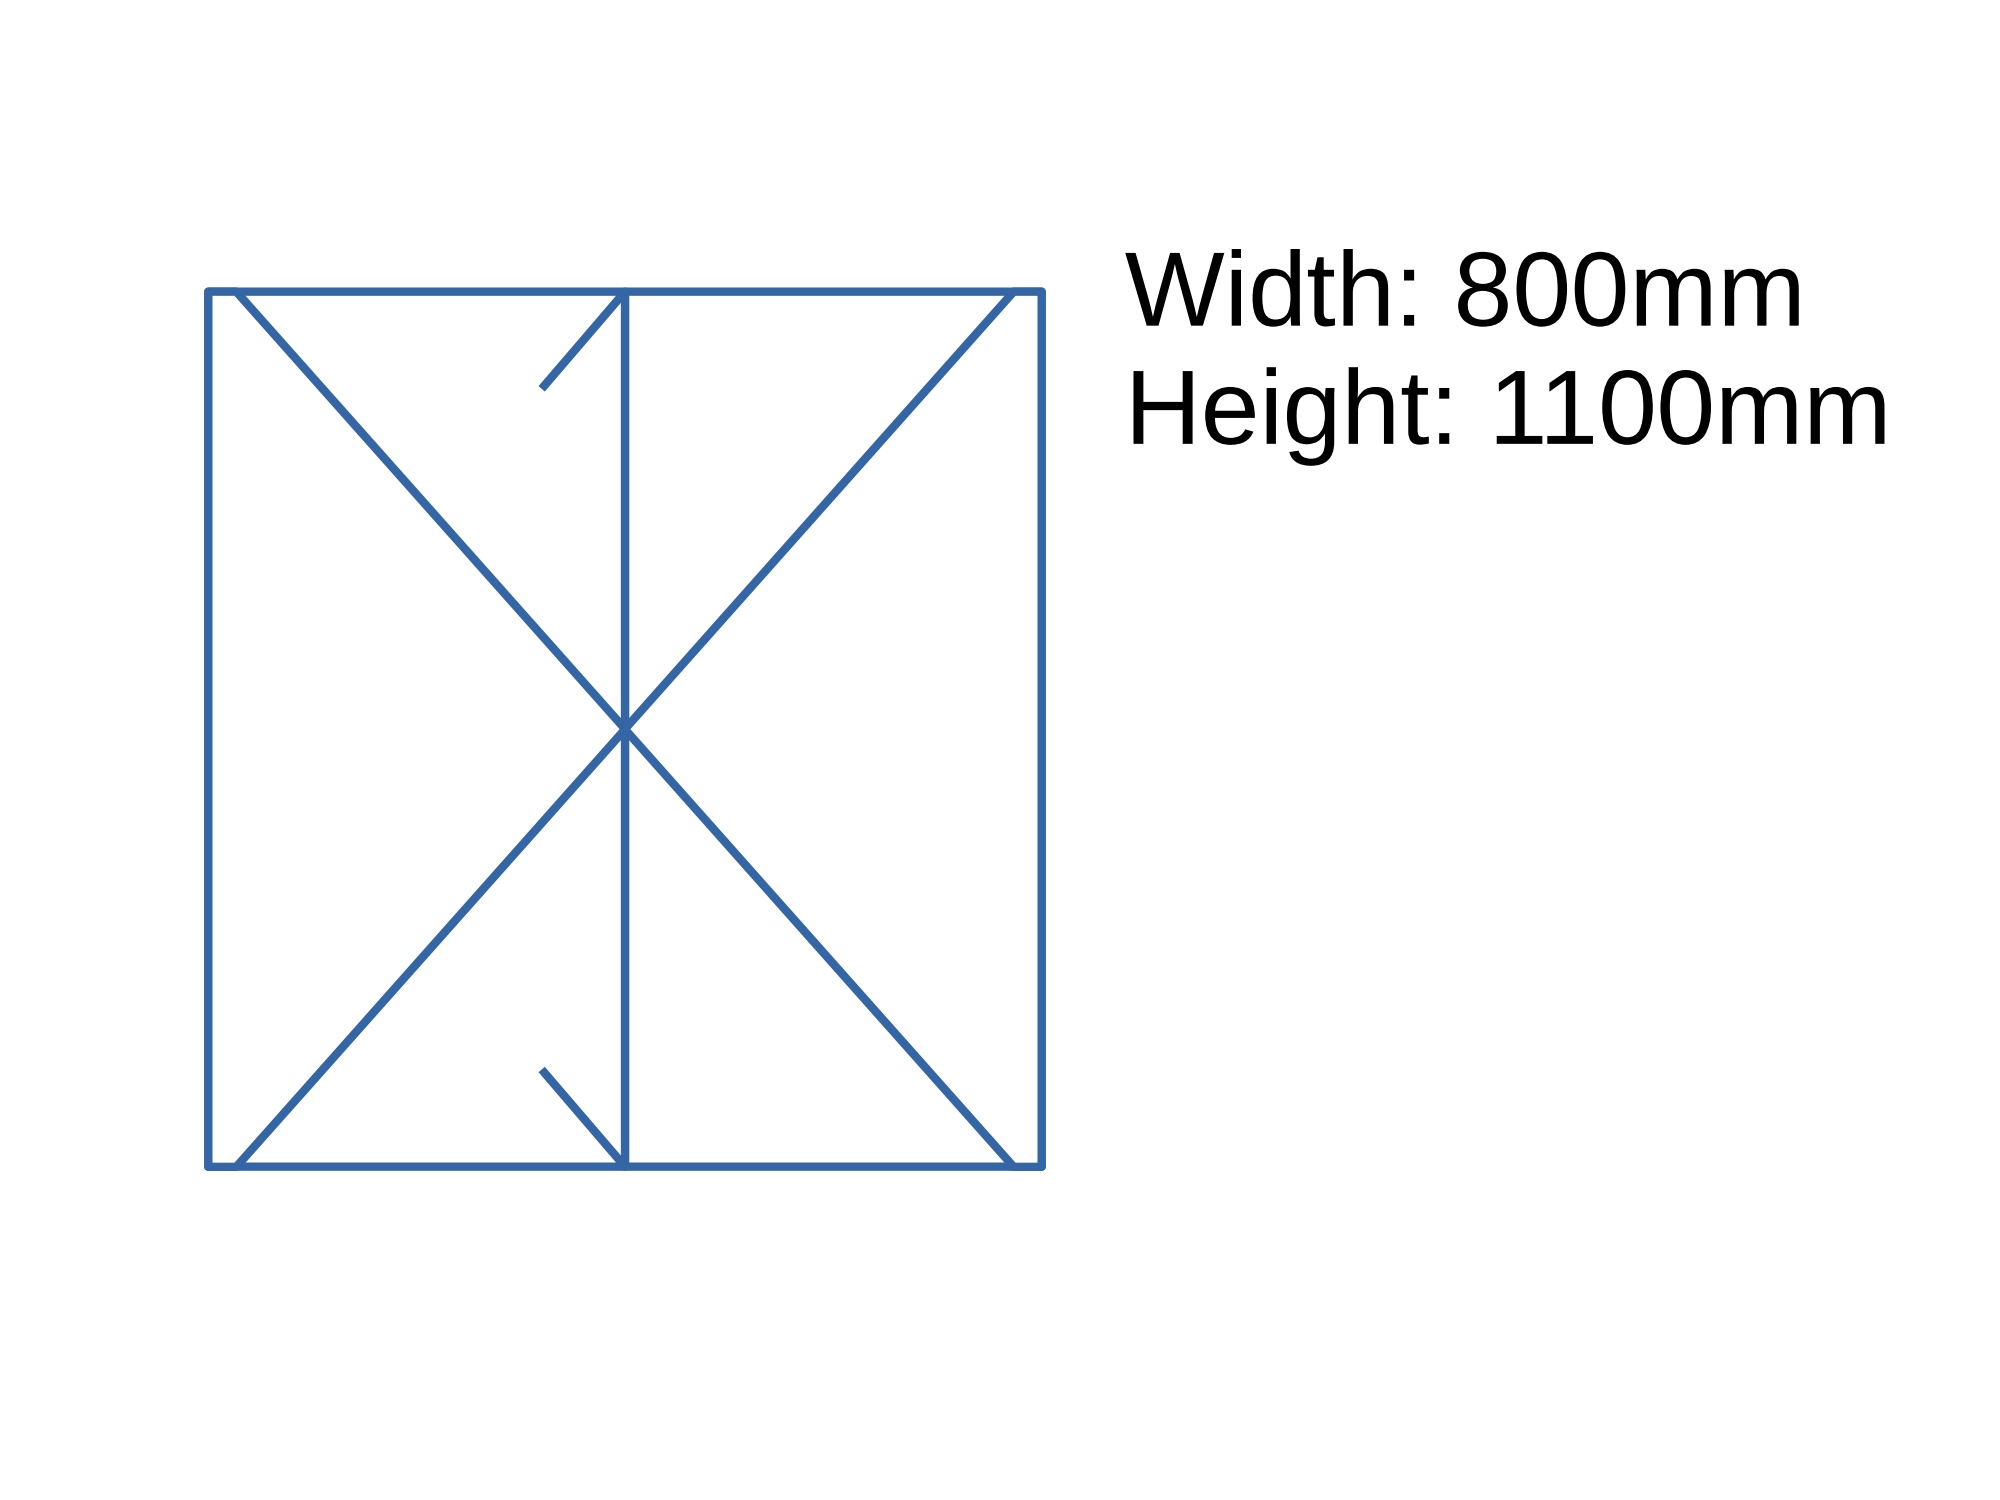
Double side hung window, with false mullion (no central post between opening sashes)
A top guided window, no external hinges, handle at the bottom
Tilt-turn, opens inward, top tilts inward, handle on the right,
Sliding sash window, top part sliding, bottom part fixed
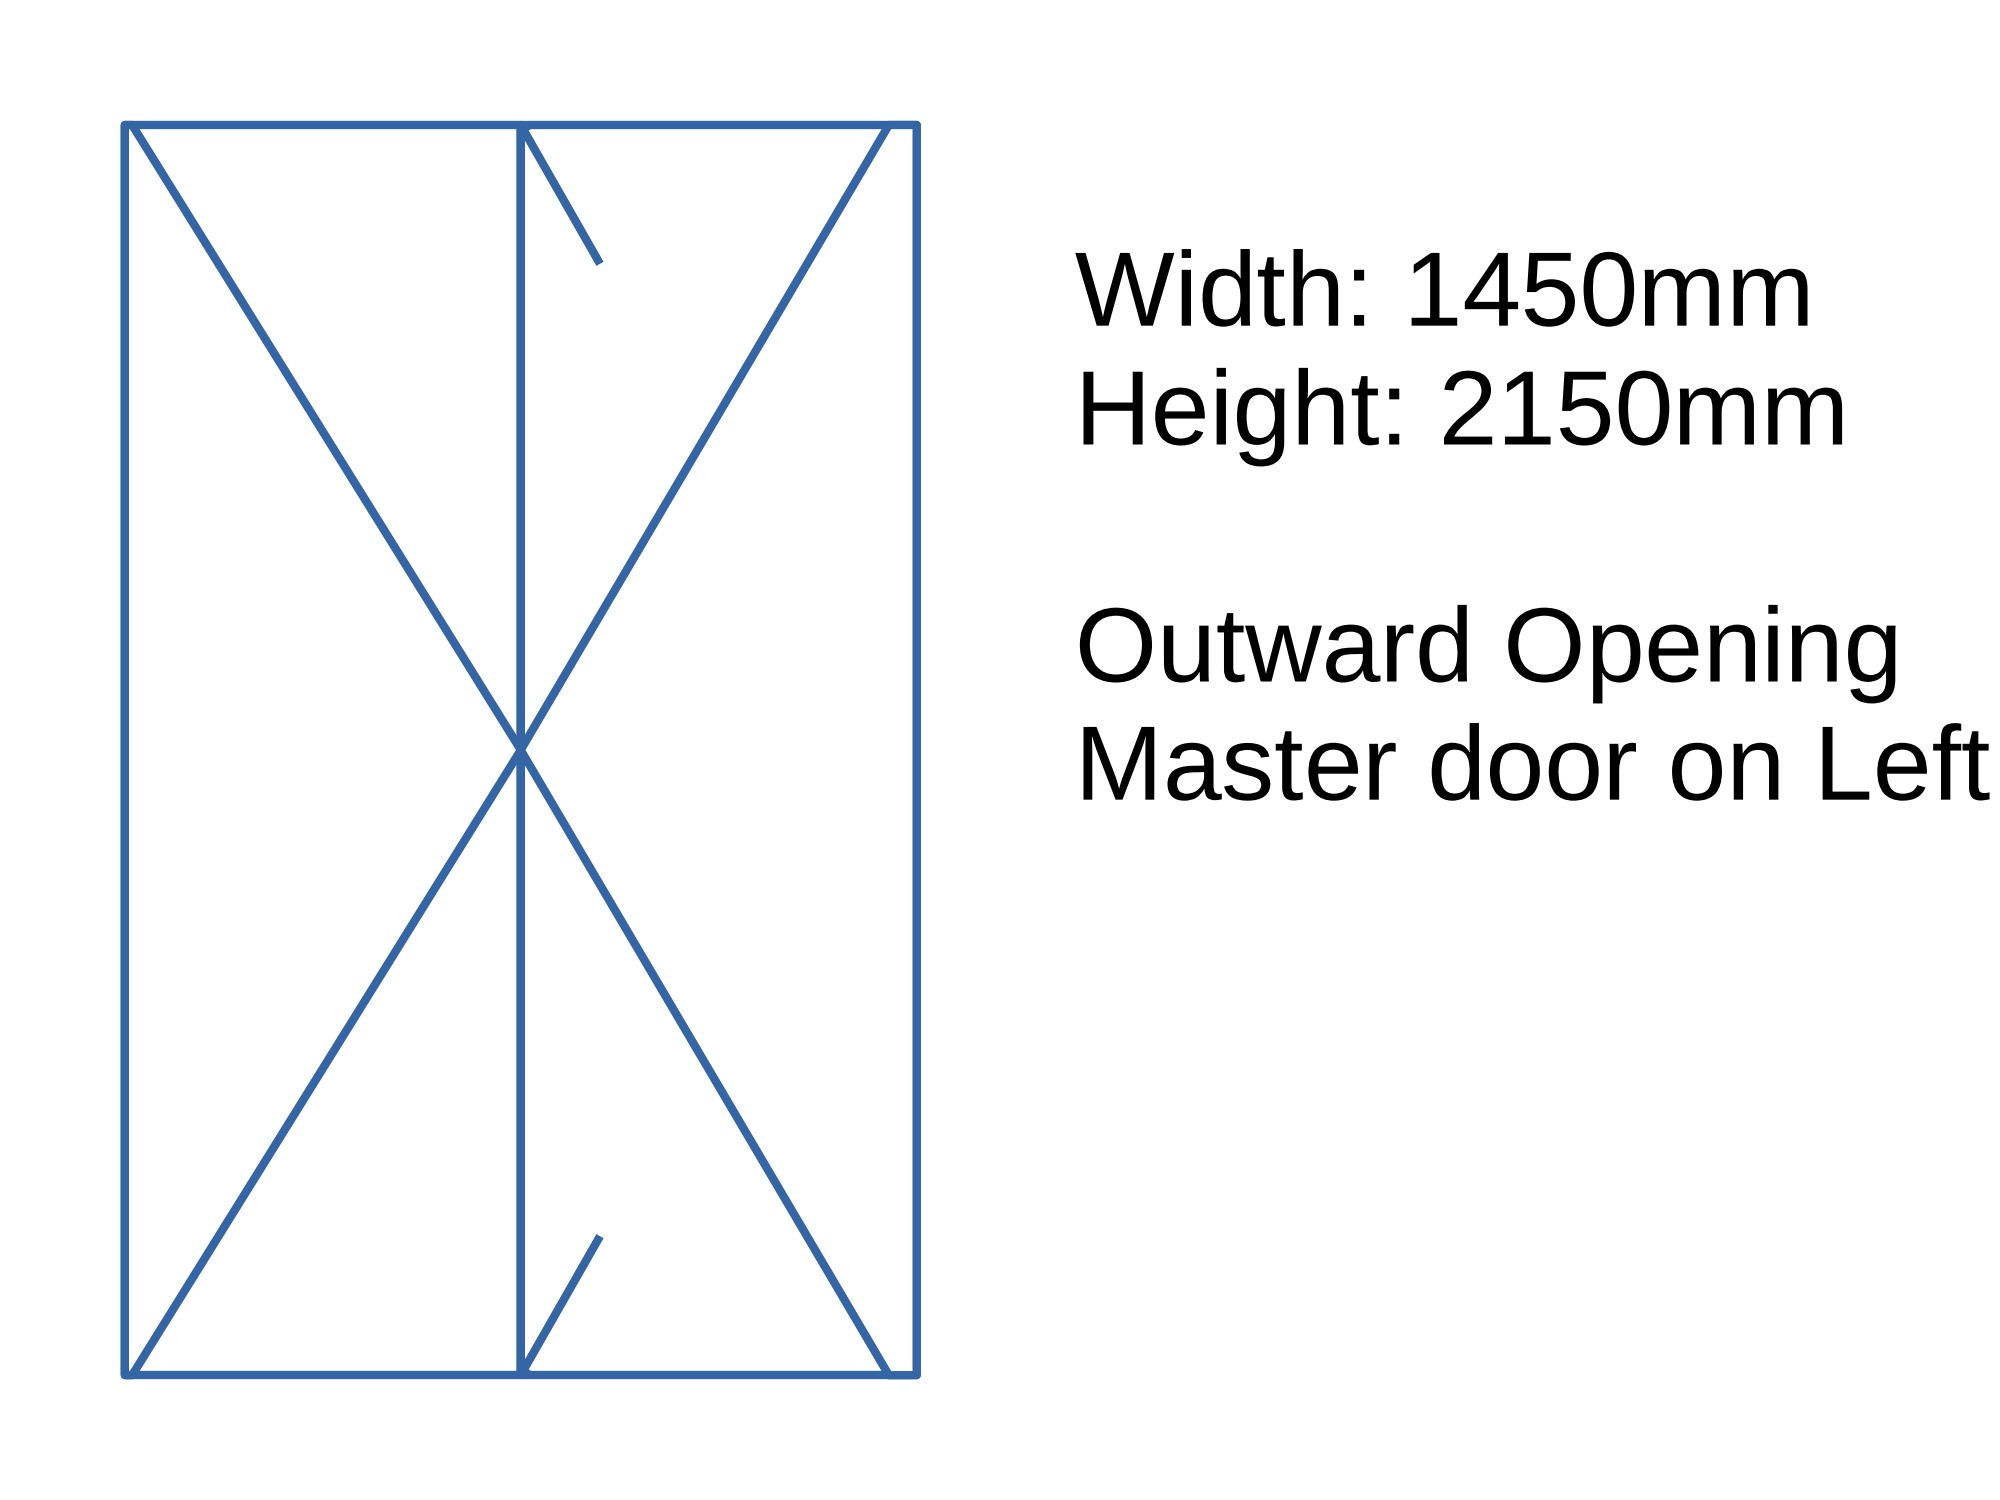
Double door
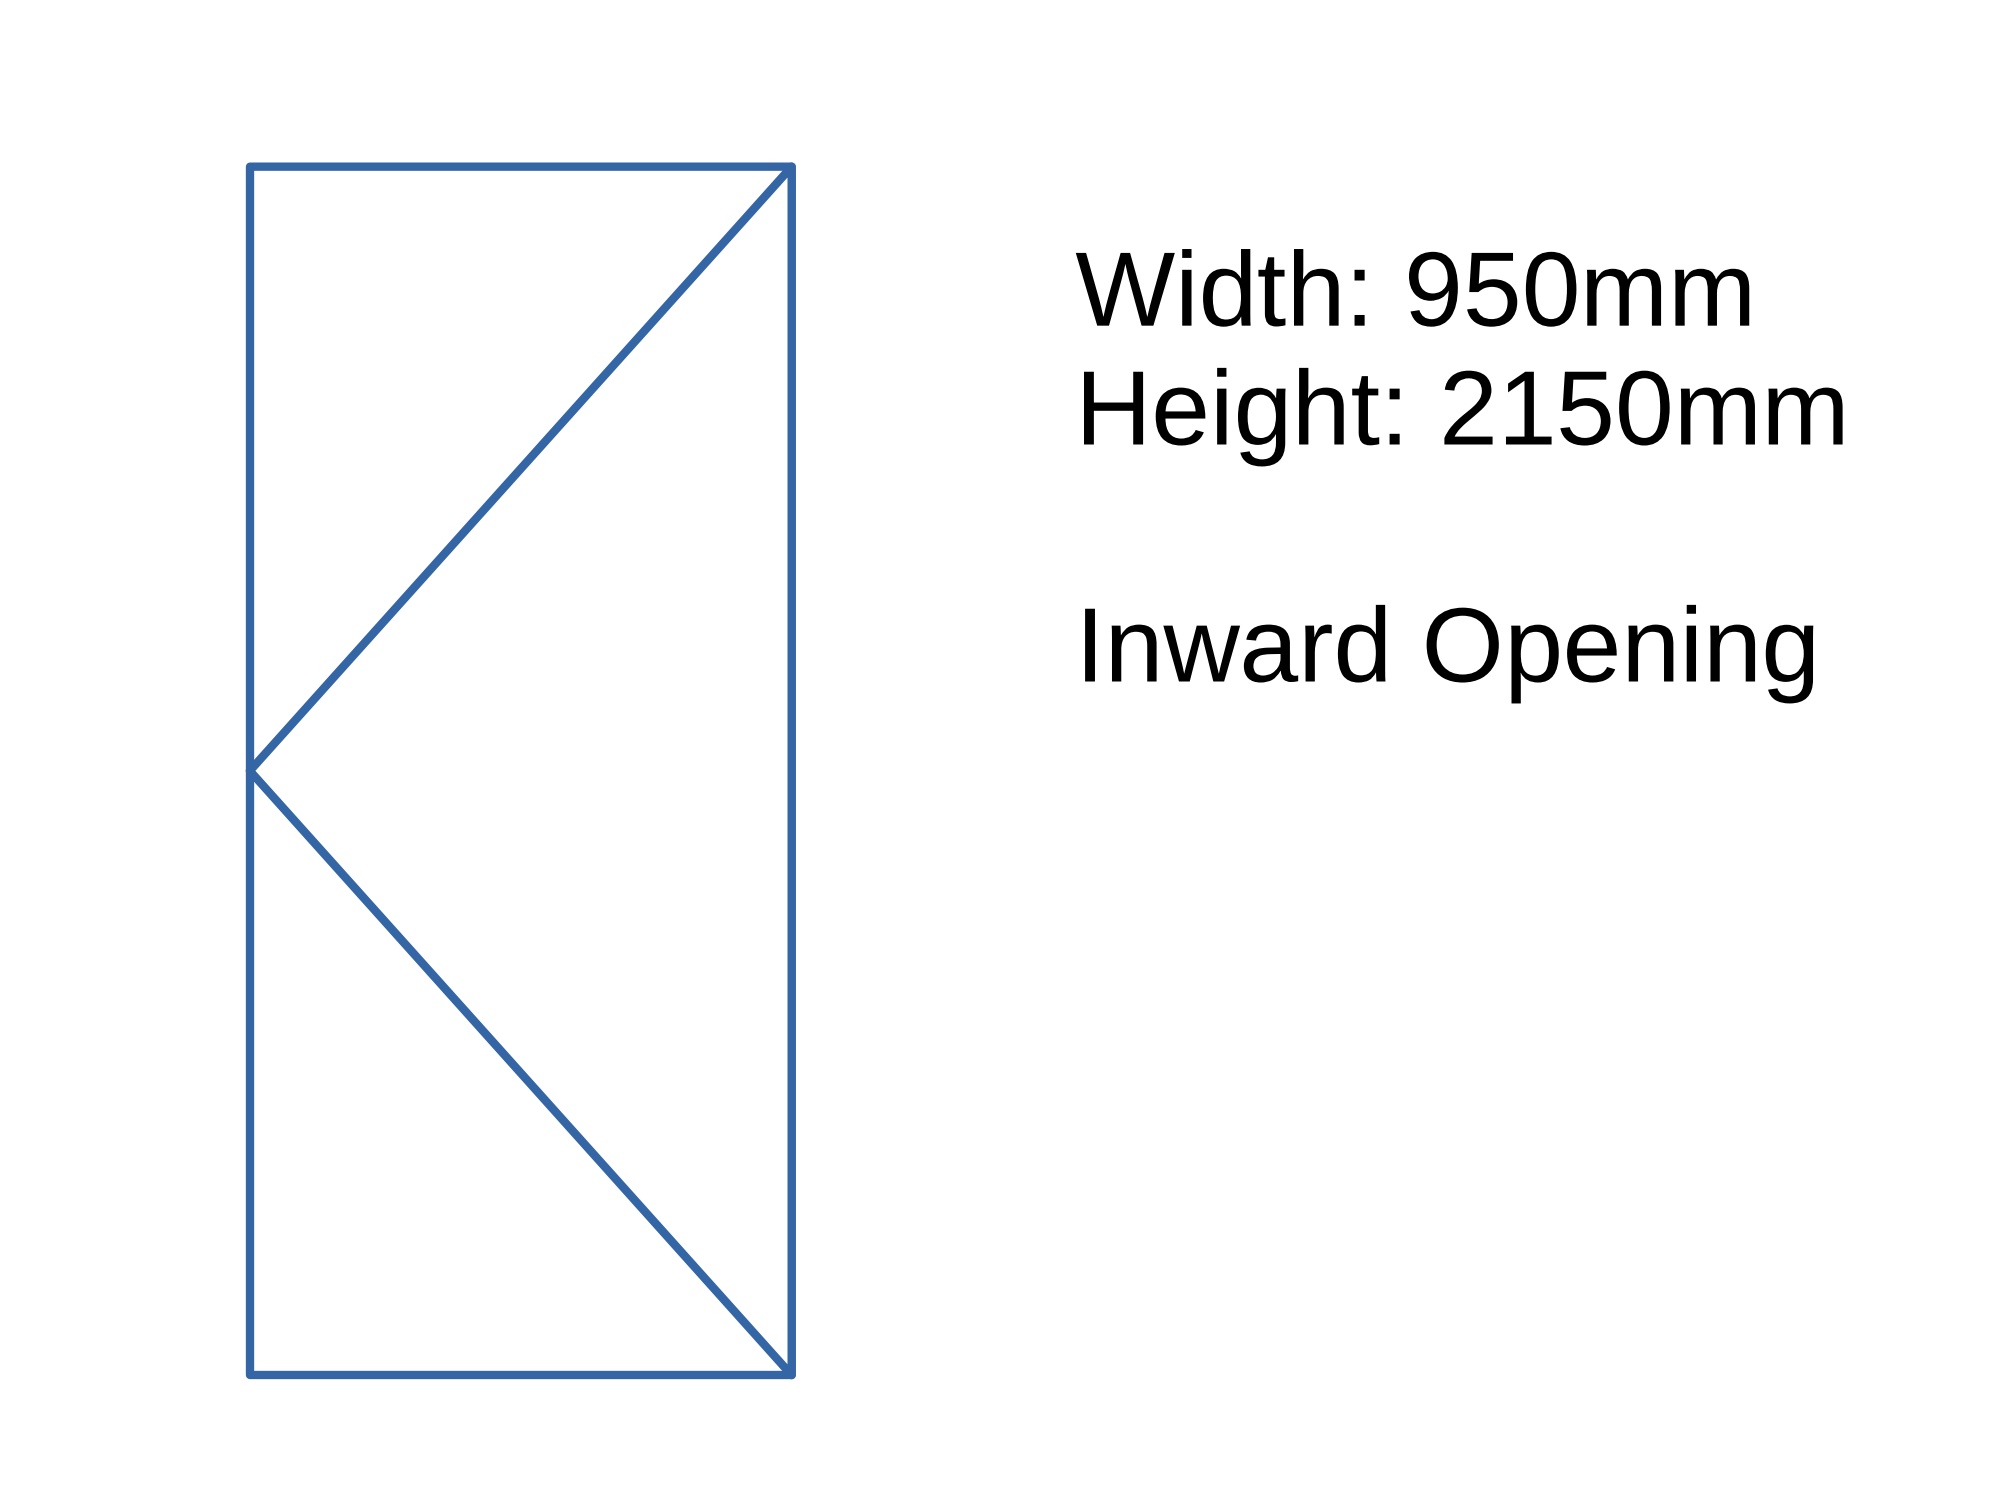
Full glass door, handle on the left viewed from outside
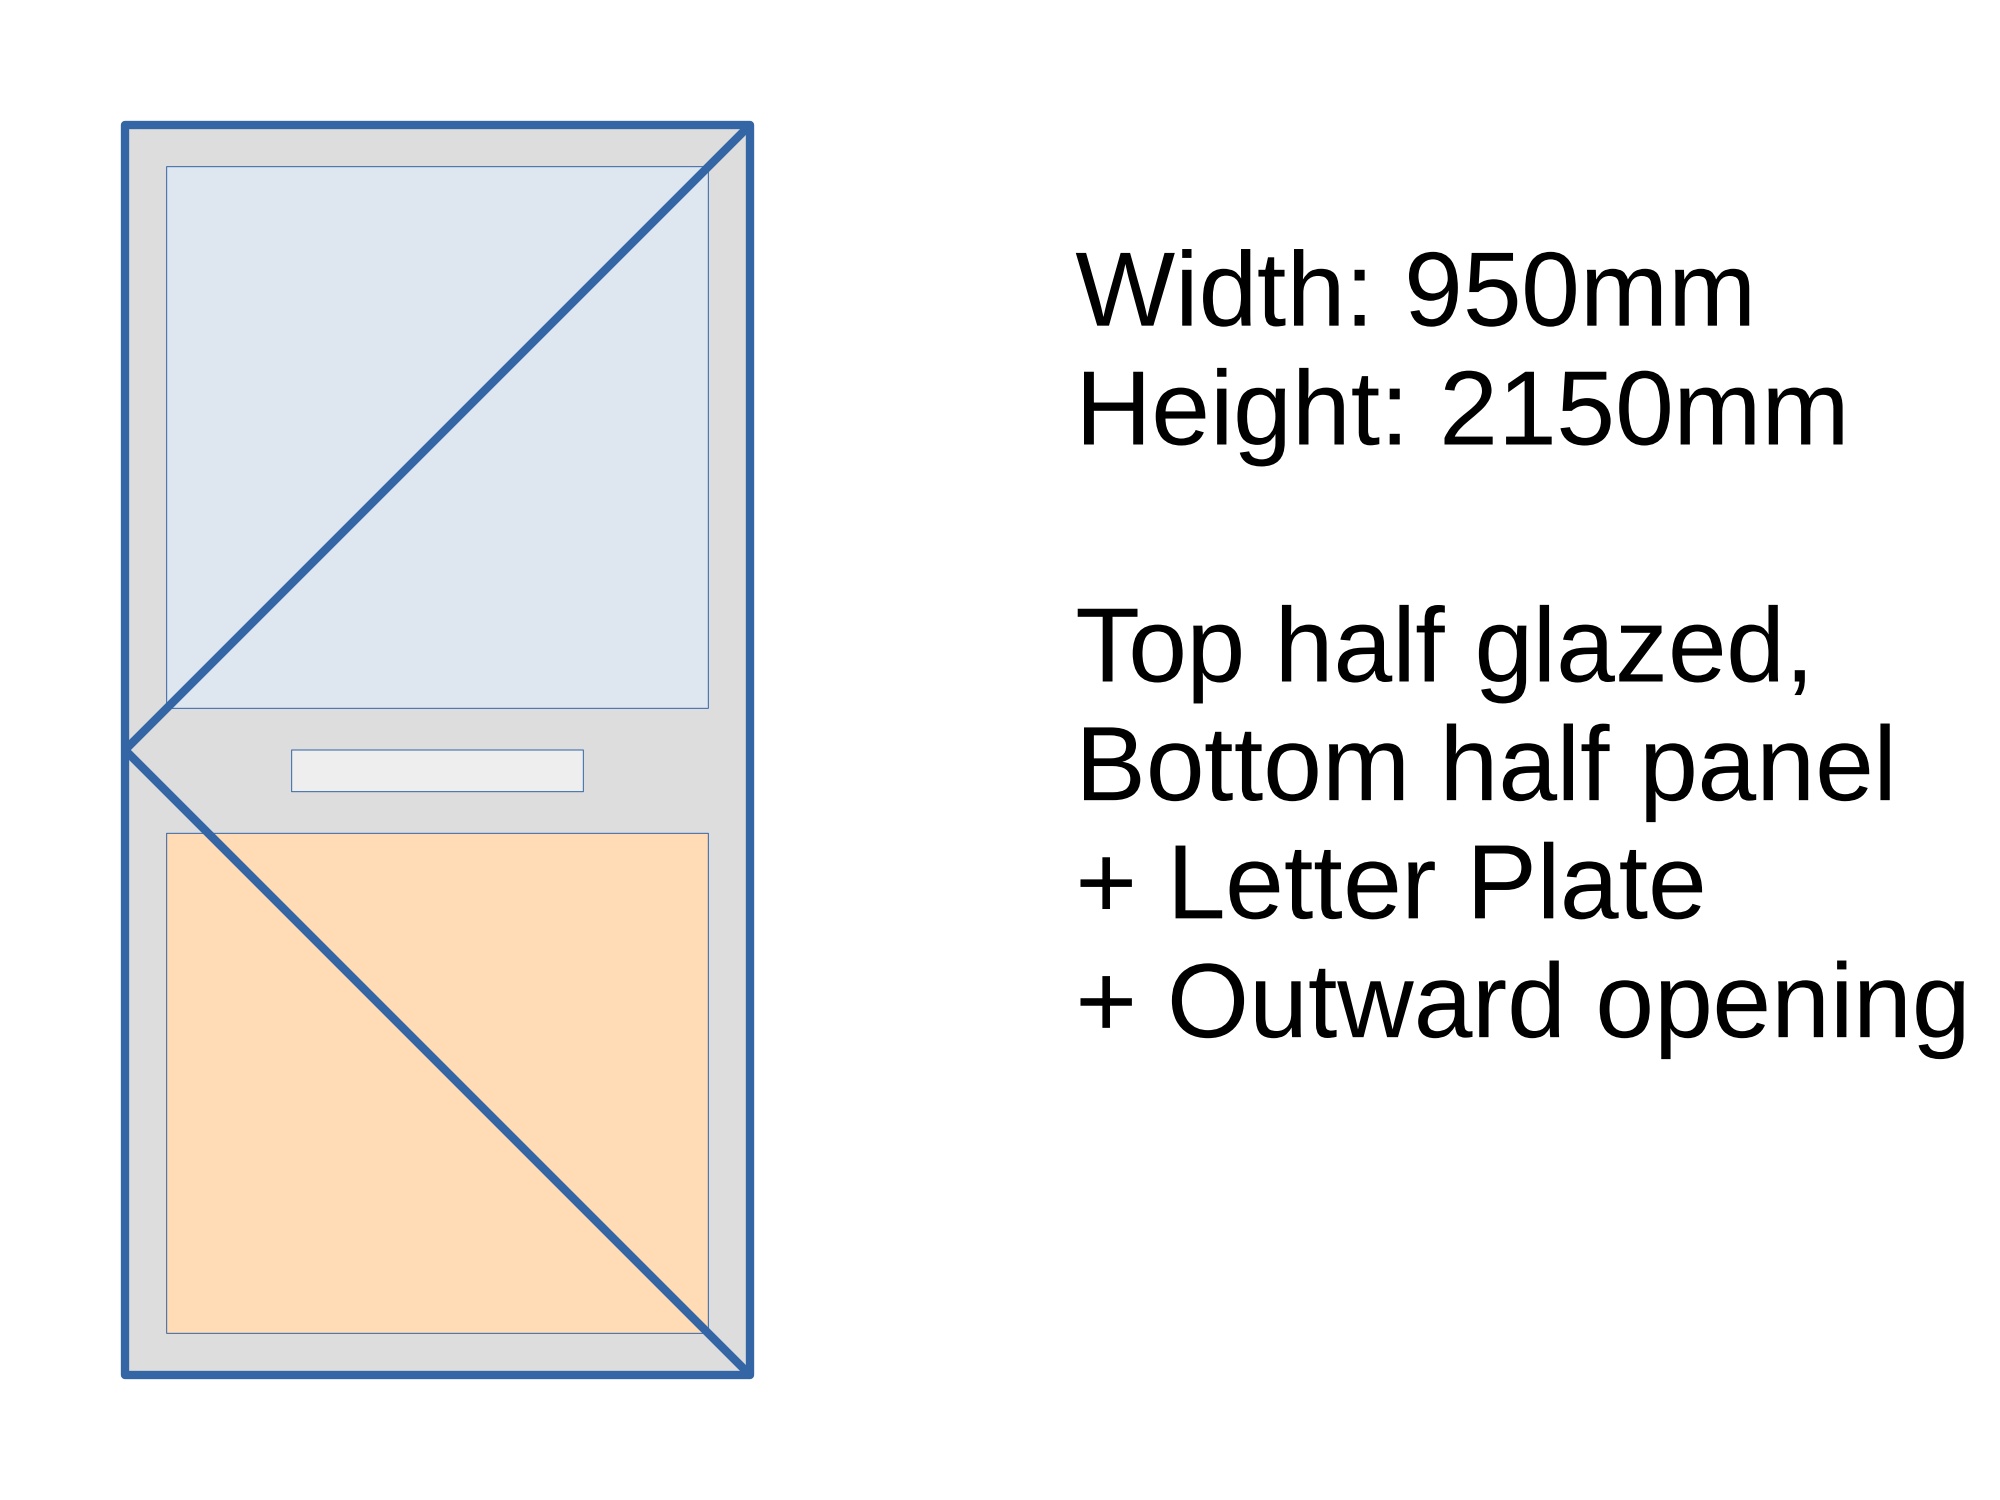
Entrance door, top half glass, bottom half panelled, handle on left viewed from outside, with letterbox
For more door ideas visit our Front Entrance Doors page
Adding accessories to your drawings
If you’d like decorative bars on your windows, and you don’t have a photo showing the design you’d like, most glazing bar arrangements are simple enough to quickly describe.
Another option, best for more complicated arrangements, would be to draw them onto your diagrams. In this situation, please make sure the decorative bar lines are in some way different to set them apart from the frame layout. For example, using a different colour, or dashed lines.
Fixed, sidehung, fixed window with two horizontal glazing bars
Fixed, sidehung, fixed window with one horizontal and one vertical glazing bar per sash, the “per sash” part becomes important sometimes
Sidehung | Topguided over fixed, with two horizontal glazing bars
This one would be too difficult to usefully describe in words, best to stick to a drawing!
An estimators note about describing glazing bars; if you tell me you would like one vertical bar on a 3 pane window I have two choices, I can give you 1 vertical bar in each glass pane, or I could make two small side windows and a larger centre window with a vertical glazing bar in it, I know most of the time it’s blindingly obvious which you would like, and even when it isn’t I should be able to guess, but adding ‘in each sash’ really does make my part in all of this a little easier.
Drawings are great, but sometimes words are needed
There are loads of items that you may know you’d like or need to have that are awkward to draw or see in a photo. Please do let us know if there’s something you’d like us to include (or not include).
We’ve listed out some common ones below:
- Solar glass, primarily to reduce heat from sunlight.
- Obscure glass: usually a good idea on bathrooms, but there are other use cases.
- Dummy sash/False sash for when you’d like fixed windows to look like an opening window – great for consistency and symmetry, but will add cost.
- RAL 7032 Externally: some of our most popular colours are not actually in our factories’ standard ranges, and will add extra cost. Please do let us know if you have a specific colour in mind.
- Double or Triple glazed. You may have a clear idea of the level you’d like to upgrade to. If not, we’re happy to help you find the answer. Triple glazing is not just a thermal insulation upgrade, but also noise reduction and a more future-proof investment.
- For front doors: letterbox. Our doors all have Class 4 airtightness, and many achieve Passivhaus insulation values. By default therefore, it’s natural for us to not immediately provide a hole in the middle for a letterbox. Having said that, we aren’t oblivious to reality, and do realise they need to exist- feel free to let us know.
Further reading:
Contact us!
For any questions about our products and services, or to get your quote,
please get in touch by phone, email, or using our in-browser contact form!
Leamington: 01926 935 607
London: 0203 633 0476
E-mail : sales@enlightenedwindows.co.uk
Contact Form: Contact Us

Where to Start
Latest Blogs
Latest Galleries
